From Bud to Bloom: Your Guide to the Cannabis Flowering Stage
· 11 min read · Updated May 14, 2026
Most growers lose their best yields not in veg, but in the final eight weeks — right when the plant is doing everything they hoped for. The cannabis flowering stage is the most metabolically intense period in the plant's life cycle, and the margin between a mediocre harvest and a genuinely outstanding one comes down to a handful of decisions made during those critical weeks. Light discipline, nutrient ratios, vapour-pressure deficit, canopy management, and harvest timing all converge here. Get them right, and you're rewarded with dense, terpene-rich colas worth the months of effort. Get them wrong, and even the finest genetics will underdeliver.
This guide walks you through every meaningful phase of flowering — from the first pistils to the final flush, with the specificity that actually moves the needle in your grow room or garden.
When Flowering Starts and Why Light Is the Trigger
Light isn't just energy for cannabis — it's information. The plant reads photoperiod as a seasonal cue, and that cue determines everything about when reproduction begins.
For photoperiod feminized cultivars, flowering is initiated by a shift to a 12-hours-light / 12-hours-dark schedule. Indoors, you make that call deliberately — flipping the timer when your canopy has reached roughly 50–60% of its target height, since most indica-dominant strains will stretch another 30–50% during the first three weeks of flower. Outdoors in Canada, that natural shift arrives in mid-to-late August depending on your latitude, with plants typically entering pre-flower as days shorten past the 14-hour threshold. Growers in British Columbia, Ontario, and Quebec working with long-season sativas should account for the possibility of early frosts interrupting late-finishing phenotypes, choosing strains with flowering windows under 65 days is often the pragmatic move north of the 49th parallel.
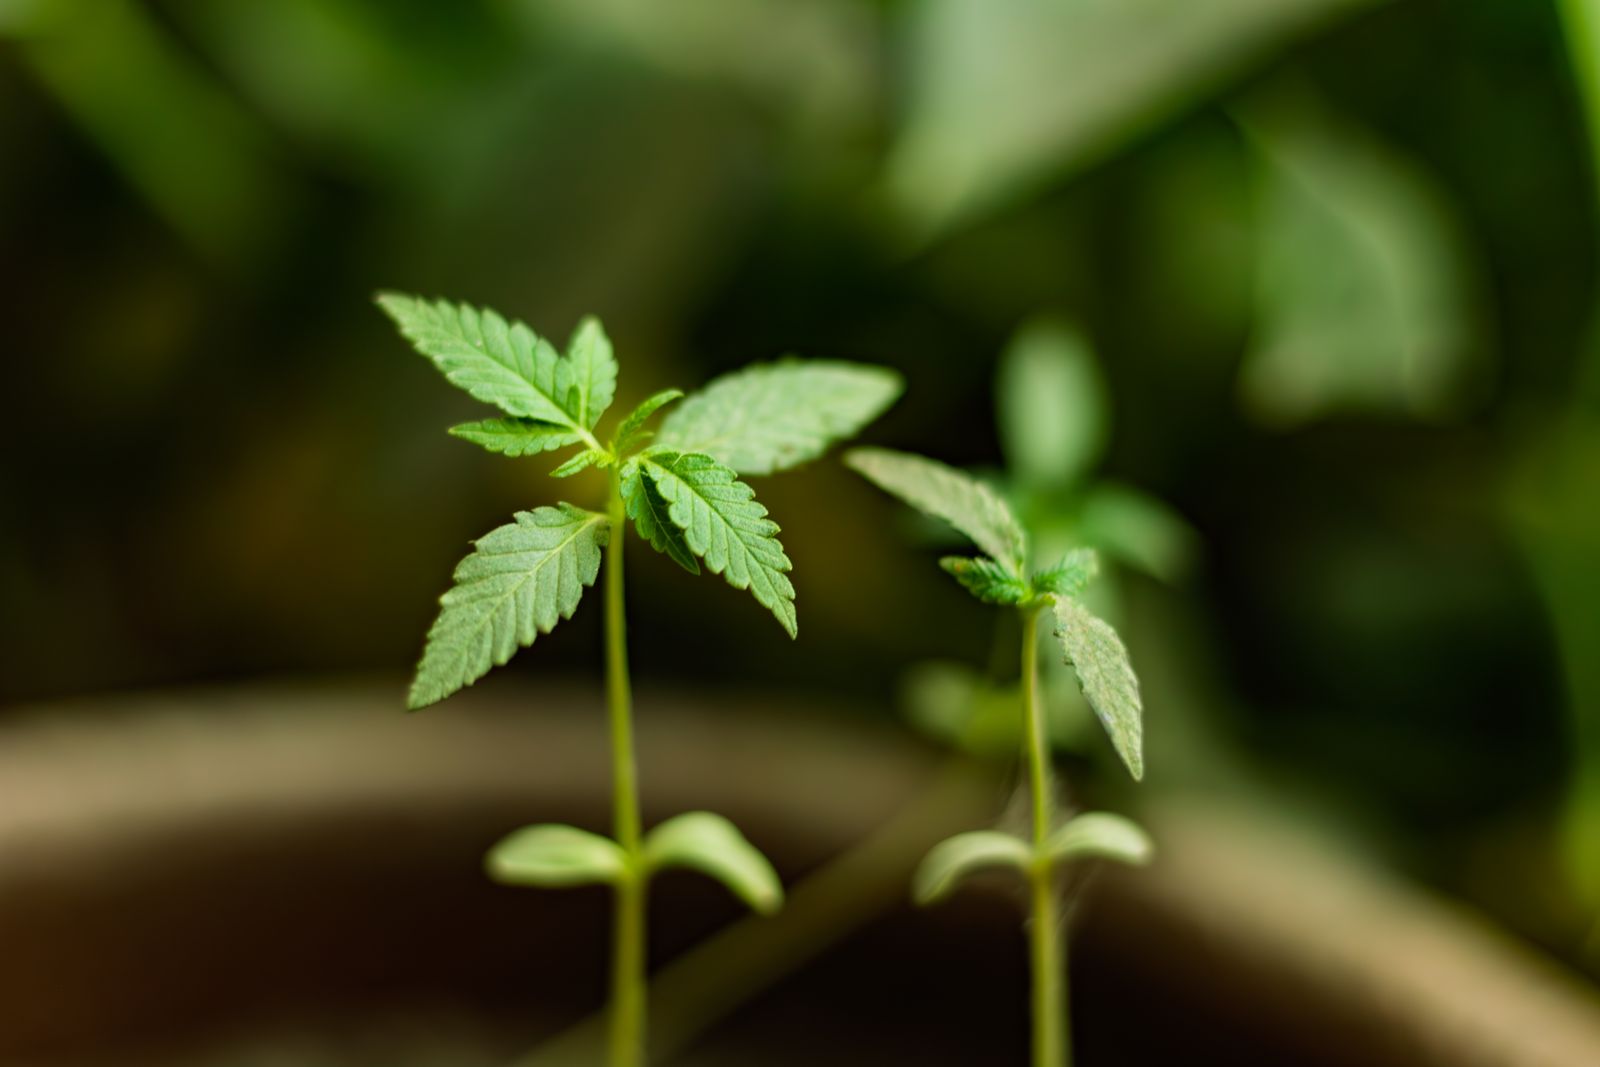
Autoflowers operate on an entirely different clock. Rather than responding to photoperiod, they transition from vegetative growth into flower based on chronological age — typically between days 14 and 21 from germination, regardless of how many hours of light they receive. This makes autos exceptionally well-suited to Canadian outdoor summers, where a 20-hour light schedule during June and July accelerates growth without delaying bloom. The trade-off is that autos offer less margin for training errors; stress during their abbreviated veg period can clip your yield ceiling before the first pistil appears.
Understanding which type you're working with isn't just academic — it shapes every decision from pot size to feeding schedule to harvest date.
The Three Phases Inside the Flowering Stage
Flowering isn't a single uniform event. It unfolds in three biologically distinct phases, each with its own demands.
Phase 1 — Pre-Flower and Stretch (Weeks 1–3)
The moment you flip to 12/12, your photoperiod plant enters a transitional period that looks deceptively like continued vegetative growth. Internodal spacing increases rapidly as the plant mobilises auxins and directs energy upward. This is the stretch — and it can be dramatic. Some sativa-leaning hybrids will nearly double in height during this window.
White pistils begin emerging from bract sites, signalling that reproductive development has begun. Your job during this phase is to avoid any interruption to the dark cycle (even a brief light leak can re-veg or hermaphrodite susceptible cultivars), maintain strong airflow across the canopy, and hold off on any high-stress training. Defoliation, if you practice it, should be your last major pass before pre-flower — not during it.
Phase 2 — Bud Development (Weeks 3–6)
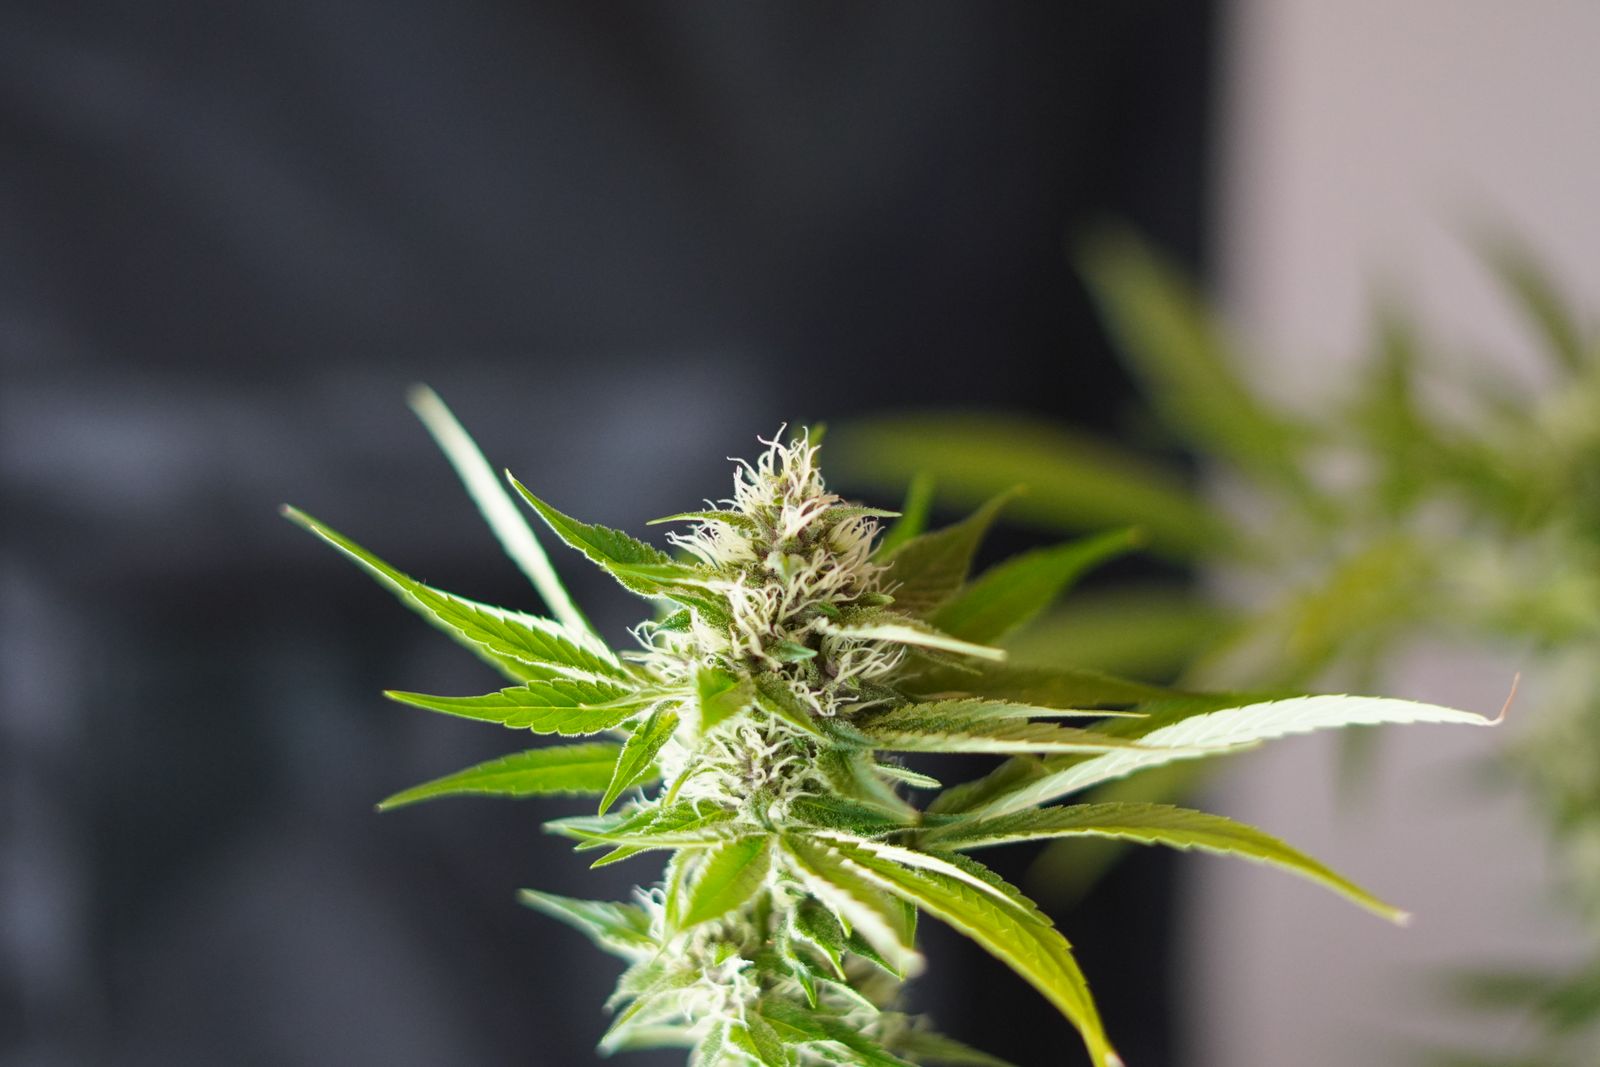
This is when the plant pivots entirely to reproduction. Pistil production accelerates, calyxes stack, and the first resin glands become visible to the naked eye along sugar leaves and bract surfaces. Terpene synthesis ramps up — you'll notice the smell intensifying noticeably around week four. Indica-dominant cultivars tend to produce compact, dense bud structures during this phase; sativa-forward genetics build elongated, airy formations that continue stacking well into late flower.
Nutrient demand peaks during bud development. Phosphorus and potassium requirements climb sharply, while nitrogen needs drop. Monitoring runoff pH (target 6.0–7.0 in soil, 5.5–6.5 in coco or hydro) during this phase catches lockout issues before they become visible deficiencies.
Phase 3 — Ripening and Maturation (Weeks 6–10+)
Resin production hits its apex. Trichomes progress from clear to cloudy to amber, and that progression is your most reliable harvest gauge. The pistils darken and curl inward. The plant begins drawing down stored nutrients, and fan leaves yellow from the bottom up — a natural process, not a deficiency, in a properly managed late-flower environment.
Harvest timing within this window is one of the most consequential decisions you'll make. Harvesting at peak cloudy trichomes delivers maximum THC with an energetic, cerebral effect profile. Waiting for 20–30% amber trichomes shifts the cannabinoid profile toward CBN, producing heavier, more sedating effects — ideal for indica lovers chasing full-body relaxation.
Dialling In Temperature, Humidity, and VPD
Environmental stability during flowering isn't a comfort measure — it's a yield strategy. Fluctuating conditions don't just stress the plant; they actively suppress terpene expression and create the conditions that pathogens exploit.
Relative humidity management is non-negotiable. During early flower (weeks 1–3), you can carry humidity up to 50–55%, which supports rapid cell expansion. From week four onward, bring it down to 40–50% and hold it there. Late flower — particularly the final two weeks, calls for 35–45%. Dense bud structure and high humidity are a recipe for Botrytis cinerea (grey mould), which can devastate an entire harvest in 48 hours, especially in Canadian grow rooms where autumn temperature swings create condensation risk.
Temperature targets during the light period should sit between 18°C and 26°C (roughly 65–80°F). During the dark period, a 5–8°C drop is not only acceptable — it's beneficial. This night-time temperature differential, sometimes called "cold shocking" in late flower, encourages anthocyanin expression in purple-expressing cultivars and can boost terpene density across the board.
Vapour pressure deficit (VPD) ties temperature and humidity together into a single actionable number. Target a VPD of 1.0–1.5 kPa during mid-to-late flower. Too low and transpiration slows, nutrient uptake drops; too high and the plant closes stomata defensively, stalling growth. A quality hygrometer with VPD readout is one of the most cost-effective upgrades a serious indoor grower can make.
- Early flower (weeks 1–3): 22–26°C lights on, 50–55% RH, VPD 0.8–1.2 kPa
- Mid flower (weeks 3–6): 20–25°C lights on, 45–50% RH, VPD 1.0–1.4 kPa
- Late flower (weeks 6–harvest): 18–24°C lights on, 35–45% RH, VPD 1.2–1.5 kPa
- Dark period (all phases): 5–8°C below lights-on temperature
Nutrients During Flowering: The Feeding Roadmap
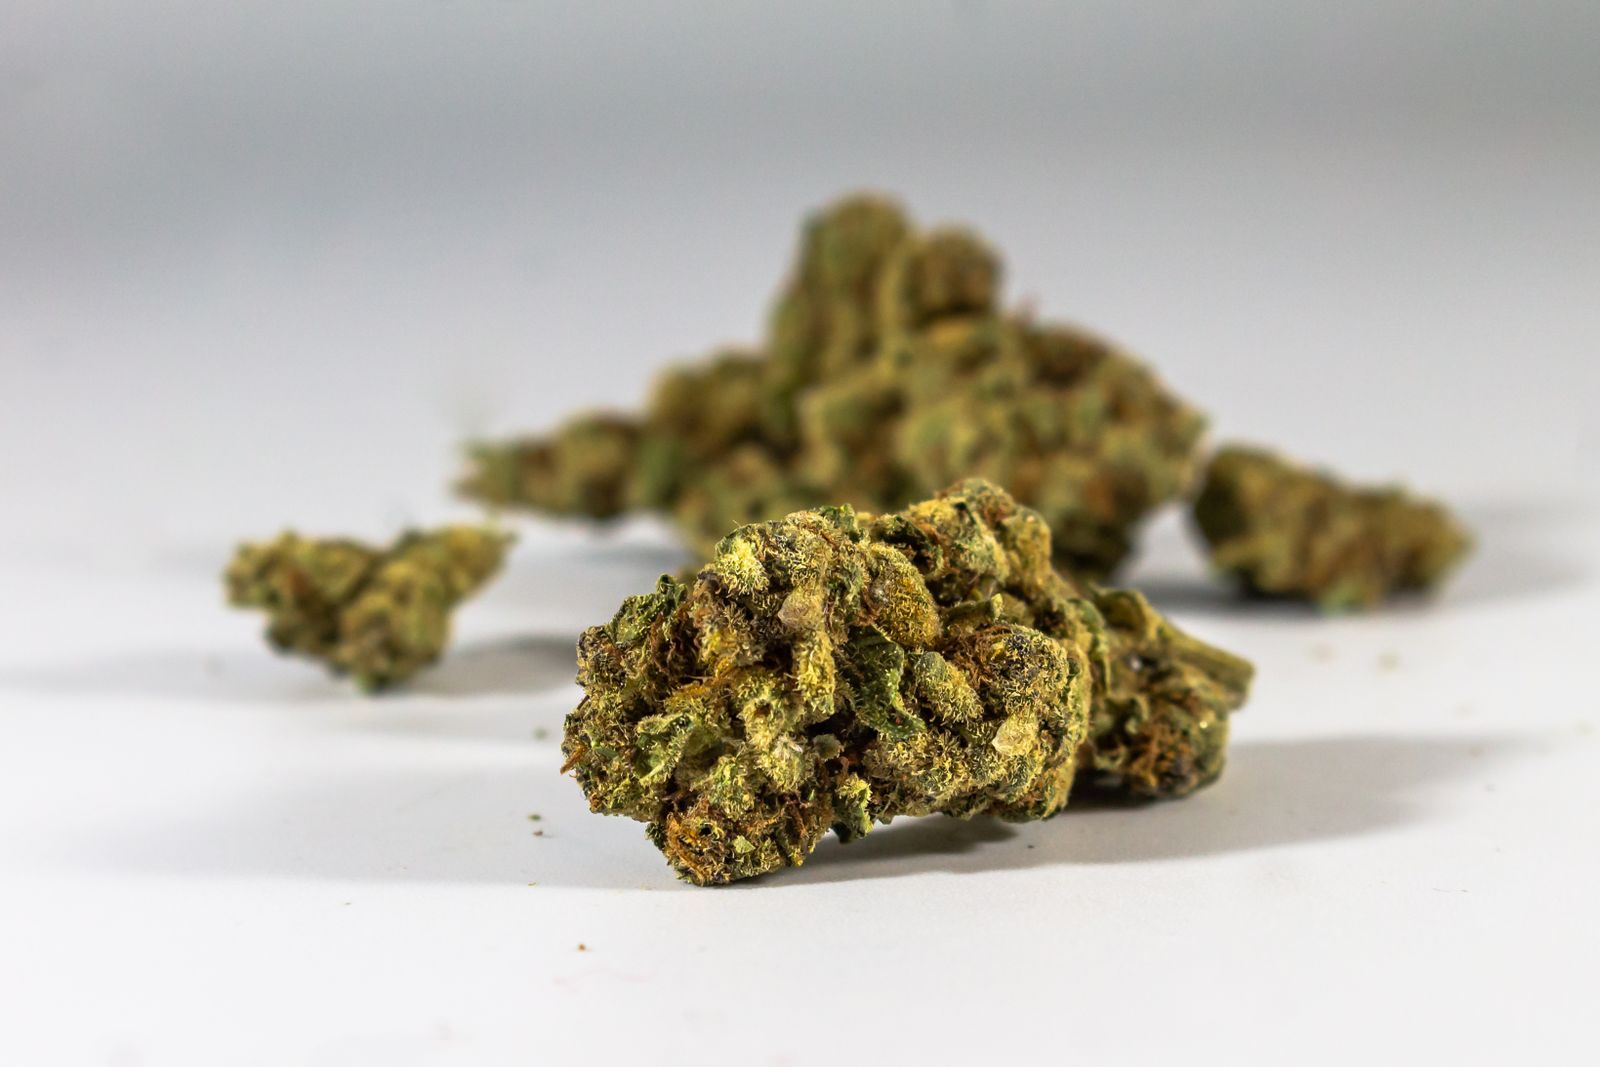
The single most common flowering mistake is continuing a nitrogen-heavy vegetative feed into bloom. Excess nitrogen during flower suppresses phosphorus uptake, delays bud maturation, and produces that characteristic "dark green, herby" smell in dried cannabis — a sign of chlorophyll overload rather than terpene richness.
A well-structured flowering nutrient programme follows a clear arc: transition, build, peak, and flush.
- Transition (weeks 1–2): Reduce nitrogen to roughly 50% of veg-stage levels. Begin introducing a phosphorus-forward bloom base — look for N-P-K ratios around 1-3-2. Calcium and magnesium supplementation becomes important here, particularly in soft-water regions like the Lower Mainland or the Ottawa Valley.
- Build (weeks 2–5): Increase phosphorus and potassium steadily. Phosphorus drives cell replication in developing calyxes; potassium regulates osmotic pressure and supports resin gland formation. Silica supplements at 50–100 ppm strengthen cell walls and improve both heat resistance and trichome density. Enzyme products during this phase help break down organic matter in the root zone, keeping beneficial microbial populations healthy.
- Peak (weeks 5–7): Maintain high P-K inputs. Consider a mid-cycle carbohydrate supplement (molasses at 5 mL/L is a time-tested organic option) to feed beneficial rhizosphere microbes and support terpene synthesis.
- Flush (final 7–14 days): Flush with clean, pH-balanced water — 6.2–6.8 in soil — to clear excess salt buildup from the growing medium. Runoff EC dropping toward 1.0–1.2 mS/cm indicates the medium is adequately cleared. A proper flush is the difference between smooth, clean-burning flower and the harsh, chemical-tasting result of a salt-laden grow.
Organic soil growers using living soil or compost teas have a distinct advantage late in flower: microbial activity naturally regulates nutrient availability, making the transition to a reduced-input late-flower programme more forgiving. Synthetic growers need to be more deliberate about the drawdown.
Training Techniques That Change the Outcome
Canopy management isn't glamorous, but it's where serious yields are built. The goal in every case is the same: present as much bud surface to your light source as possible, and eliminate shaded zones that produce larfy, underdeveloped popcorn buds.
Low Stress Training (LST) and Screen of Green (ScrOG) are the two most productive approaches for indoor flowering. LST involves gently bending and securing branches horizontally during veg and early flower, breaking apical dominance and encouraging lateral bud sites to develop with equal vigour. ScrOG takes this further by weaving branches through a horizontal screen — typically positioned 20–40 cm above the pot, creating a flat, even canopy that maximises photon distribution. Both methods require zero cutting and carry minimal stress risk, making them ideal for growers working with autoflowering cultivars as well.
High Stress Training (HST) — topping, fimming, and super cropping, is best completed well before the transition to flower. Topping during veg creates two dominant colas where one existed; fimming produces four. Super cropping (deliberately pinching and bending a branch until the inner tissue collapses, then splinting it upright) encourages the plant to heal with a thickened, knuckled junction that feeds the branch above it more efficiently. These are powerful tools, but they require recovery time, plan your final HST session at least two weeks before you intend to flip to 12/12.
Comparison: LST adds virtually no recovery time and suits autos perfectly — expect a 15–30% yield improvement with consistent practice. ScrOG suits photoperiod plants in dedicated flowering tents, where yields of 400–600 g/m² are achievable with well-dialled genetics. HST tops those numbers in experienced hands but carries a real risk of stunting autoflowering plants if timed poorly. Choose your method based on your cultivar type, not just your ambition.
Defoliation — selectively removing fan leaves that block light penetration or restrict airflow, is best performed in two passes: once at the flip to 12/12, and again around day 21 of flower. Never strip more than 20–30% of the canopy in a single session, and avoid any defoliation during the final three weeks of ripening. The plant needs every remaining leaf for photosynthesis as it finishes.
Reading the Plant: Harvest Cues and Trichome Monitoring
No timer or breeder's stated flowering time is as accurate as the plant itself. Stated flowering windows are averages across phenotypes and growing conditions — your specific environment, training choices, and feeding programme will shift that number earlier or later. Learn to read the plant directly.
The three primary harvest indicators are:
- Trichome colour: Use a jeweller's loupe (30–60×) or a digital microscope. Clear trichomes = immature, low THC, high THCA in early conversion. Fully cloudy/milky = peak THC, maximum potency, sharp and cerebral effect. Mixed cloudy and amber (10–30% amber) = THC beginning to degrade to CBN, heavier and more sedating. Over 40% amber = significant cannabinoid degradation; appropriate only for specific therapeutic applications.
- Pistil colour: When 70–90% of pistils have darkened from white to orange, red, or brown and curled inward, the plant is signalling maturity. Pistil colour alone is a less reliable indicator than trichomes but useful as a first filter.
- Calyx swelling: In the final days before peak ripeness, calyxes visibly swell and separate slightly. Combined with trichome data, this confirms you're within the harvest window.
Harvest too early and you sacrifice potency and yield — calyxes haven't reached their maximum mass. Harvest too late and you trade THC for CBN, lose terpene complexity, and risk the buds beginning to degrade on the plant. The sweet spot is worth the daily monitoring it takes to find it.
The Finishing Steps: Flush, Harvest, and Cure
What happens after the final flush determines whether all of your flowering-stage work is reflected in the jar. Harvesting is straightforward — cut main colas, then work down the plant systematically. Wet trimming (removing fan and sugar leaves immediately after harvest) is faster and yields cleaner results in high-humidity environments where mould is a concern. Dry trimming (hanging whole branches and trimming after drying) is gentler on trichomes and preserves terpene complexity in drier climates or well-ventilated drying rooms.
Dry your harvested material at 15–21°C with 55–65% RH, with gentle airflow — never direct fan blast on the buds. A slow dry over 10–14 days is far superior to a 4-day rush. Chlorophyll breaks down more completely, and the resulting smoke is smoother.
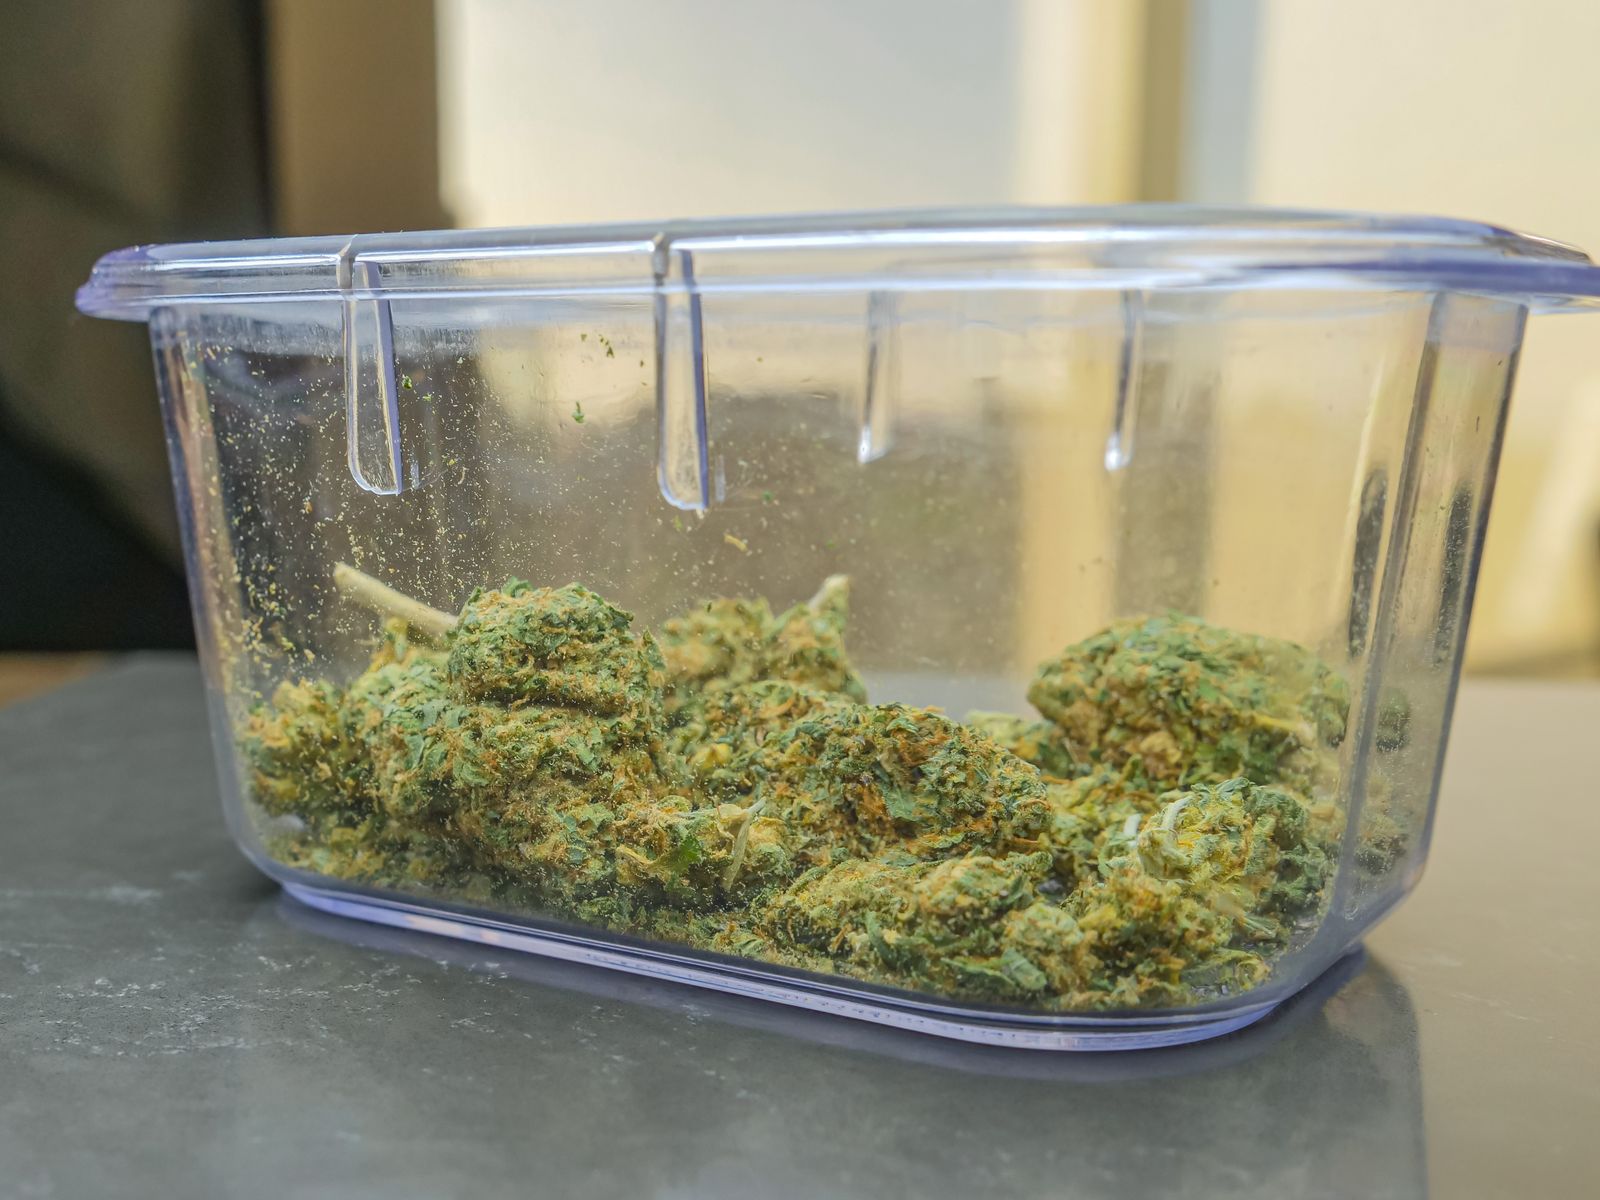
Cure in sealed glass jars at 62% RH (Boveda packs make this effortless). Open jars daily for the first two weeks to burp CO₂ and moisture, then reduce to every few days. A proper cure of four to eight weeks transforms adequately dried cannabis into something exceptional — terpene profiles round out, harshness disappears, and potency expression improves as residual chlorophyll and moisture redistribute evenly through the bud.
The flowering stage is where genetics, environment, and grower skill converge into something you can actually hold in your hand. Every hour you spend dialling in your VPD, reading your trichomes under a loupe, or perfecting your flush timing compounds directly into the quality of what ends up in the jar. Pacific Seed Bank exists to make sure the genetics you start with are worthy of that effort — a curated library of over 150 feminized and autoflowering strains, backed by more than two decades of horticultural expertise, selected for consistent phenotype expression and real-world Canadian grow performance. And if you're weighing whether growing your own is worth it financially, a breakdown of the cost to grow your own cannabis at home makes a compelling case that quality seeds are the highest-return investment in your setup. Start with the right genetics, apply what you've learned here, and the flowering stage stops being a source of anxiety, and becomes the most rewarding eight weeks of your growing season.
Keep Reading
Do Pot Seeds Go Bad? The Real Scoop on Seed Shelf Life
Do pot seeds go bad? Yup. Find out how long cannabis seeds last, how to spot bad ones, and the best storage tricks to keep your seeds viable for years.
Cannabis Terms Explained: Vocabulary For New Growers
Cannabis Seed Storage Tips for Maximum Shelf Life
