Cannabis Seed Storage Tips for Maximum Shelf Life
8 min read · , updated May 14, 2026
A seed is not a passive object. It is a living embryo in suspended animation — and the moment you compromise that suspension with heat, light, or moisture, you start a countdown you cannot reverse. Whether you picked up a few extra cultivars from Pacific Seed Bank during a sale, overestimated your grow space, or simply want to bank genetics for next season, knowing how to store cannabis seeds correctly is one of the most underrated skills in a grower's toolkit.
Get it right, and those seeds will still crack and tap root two, three, even five years from now. Get it wrong, and you'll find out the hard way — usually at 11 p.m. on day ten of a paper-towel germination test when nothing moves.
How Long Do Cannabis Seeds Actually Stay Viable?
Under ideal conditions, most cannabis seeds remain fully viable for two to five years. Some well-preserved genetics have germinated after a decade, though expect germination rates to decline meaningfully past the five-year mark.
The two-year window is the practical benchmark. Within it, you can reasonably expect 80–95% germination on quality feminised seeds stored correctly. Push past two years without dedicated cold storage and that figure can slide to 50% or lower — not because the genetics are bad, but because cellular degradation and enzymatic breakdown have quietly been doing their work.
The bottom line: plant your seeds within 60 days if storage isn't an option, or commit to a proper long-term system. There is no middle ground that treats your investment with the respect it deserves.
The Three Enemies of Seed Viability
Seeds have one job while they wait — stay dormant. Three environmental factors actively undermine that dormancy, and understanding each one helps you design storage that neutralises all of them simultaneously.
Heat and Humidity
This is the most destructive pairing in seed storage. Relative humidity above 60% is problematic; above 80% it becomes catastrophic. Warm, moist conditions signal to a seed that spring has arrived and it should begin germination — except, without soil and water to complete the process, the embryo simply exhausts itself and dies. Excess humidity also promotes fungal growth and bacterial colonisation on the seed coat, which can penetrate the embryo itself.
Temperature compounds the problem. For every 1% rise in seed moisture content or every 5°C rise in storage temperature, seed longevity roughly halves. That's not a metaphor — it's a well-established principle in seed science. A seed sitting at 25°C in a 65% RH environment ages dramatically faster than one kept at 6°C and 30% RH.
Light Exposure
UV and visible light degrade the lipids and proteins stored within the seed's endosperm — the very reserves the embryo will rely on during germination. Prolonged light exposure also disrupts phytochrome signalling, which governs dormancy. The result is a seed that either tries to wake up prematurely or arrives at germination nutritionally depleted. Neither outcome produces a vigorous seedling.
Oxygen
Oxygen accelerates oxidative stress on cellular membranes and enzymes inside the seed. It also supports the aerobic microorganisms — moulds, bacteria, that will happily colonise seeds given the chance. Minimising headspace oxygen is therefore both a direct and indirect preservation strategy.
Building Your Ideal Storage Environment
Protecting seeds from those three enemies isn't complicated — it just requires intentionality. Here's a tiered approach based on your storage timeline.
Short-Term Storage (Under 6 Months)
A cool, dark drawer or cupboard away from your grow lights and any heat-generating appliances will suffice. Keep seeds in their original breeder packaging or a small paper envelope inside an opaque container. Aim for ambient temperatures under 20°C and relative humidity under 55%.
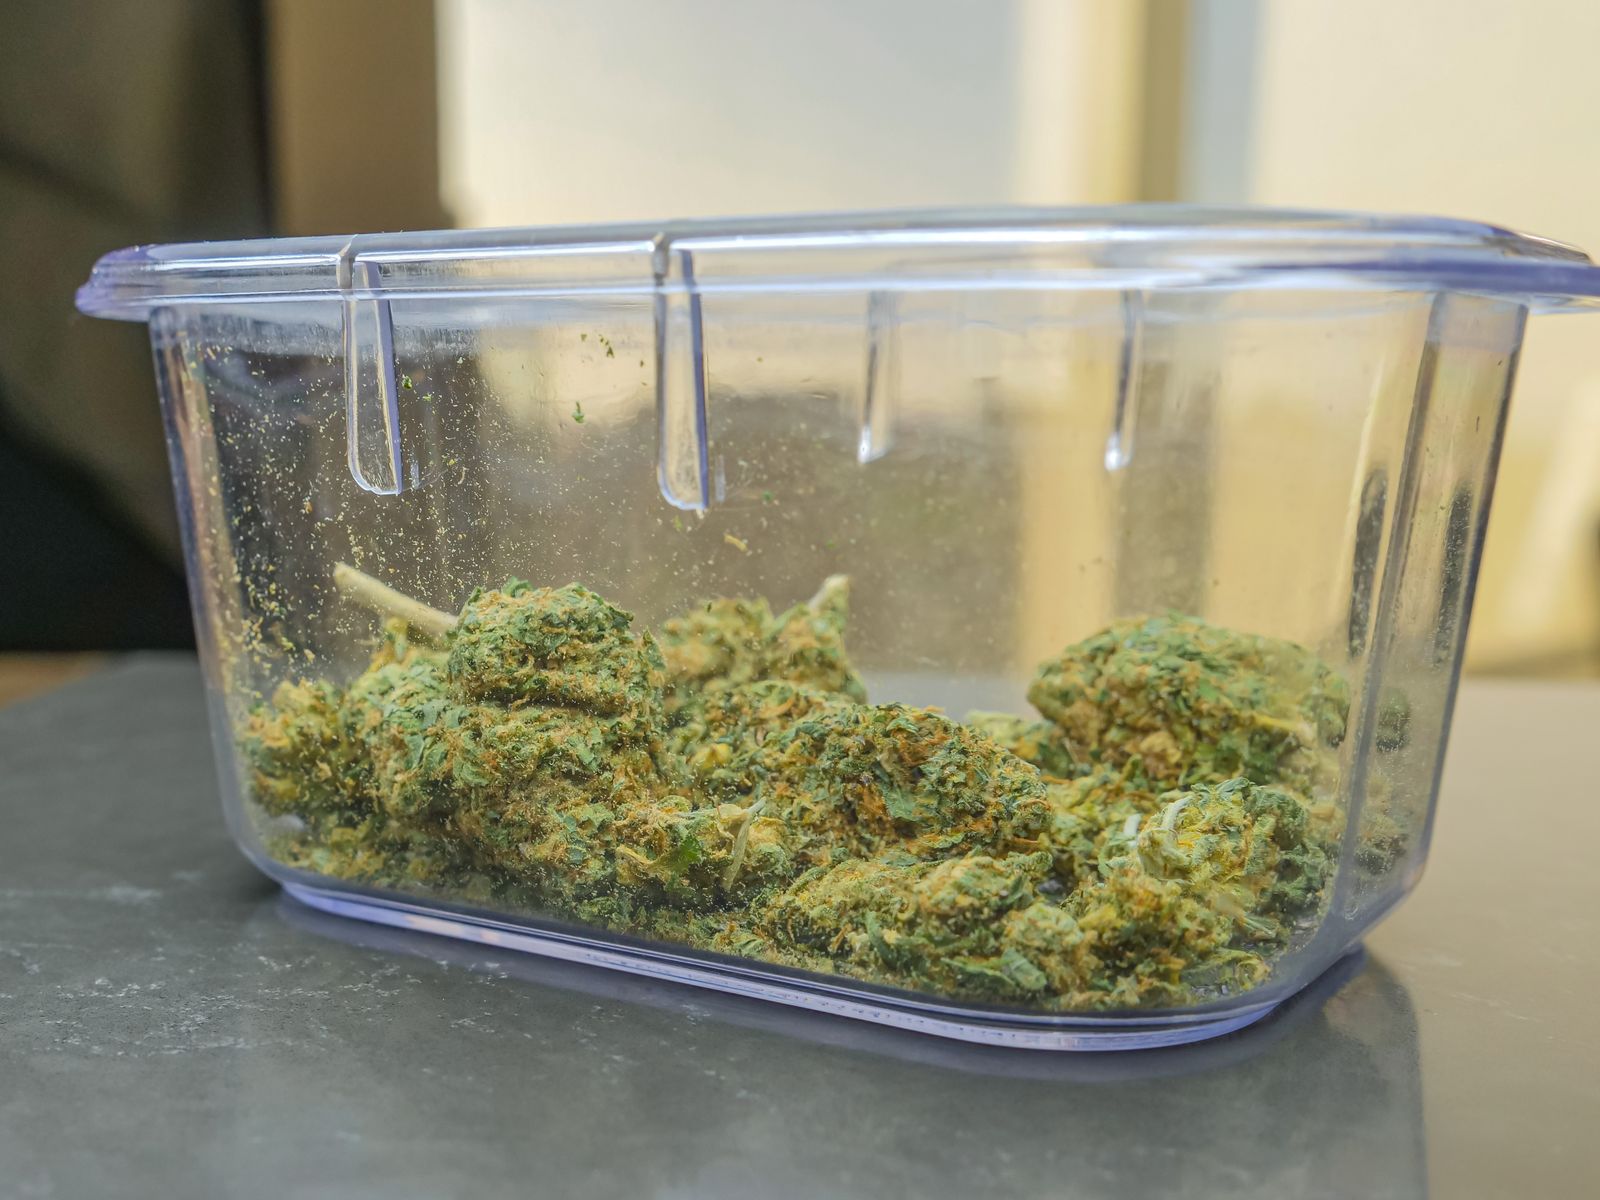
- Use a small food-grade glass jar with a tight-fitting lid.
- Add one or two food-grade silica gel desiccant packets to the jar — the kind that indicate saturation by changing colour.
- Label each container with the strain name, seed type (auto or feminised), and the date you received them.
- Store in a location with minimal temperature fluctuation (away from exterior walls in Canadian winters).
Medium-Term Storage (6 Months to 2 Years)
The refrigerator is your best friend here. A dedicated vegetable crisper drawer maintains consistent cool temperatures (typically 4–8°C) and, with a desiccant present, manageable humidity. The key discipline is minimising how often you open the container. Every time you do, you expose seeds to warm ambient air, which causes condensation on cold surfaces — and condensation is moisture.
- Place seeds in airtight glass jars or vacuum-sealed bags with silica gel packets.
- Wrap the container in a second opaque bag or cloth to eliminate any light intrusion when the fridge door opens.
- Set aside a dedicated "seed section" so the container isn't disturbed by daily food access.
- Allow the sealed container to return to room temperature before opening after retrieval from the fridge — this prevents condensation from forming on the seeds themselves.
- Return unused seeds promptly, resealing with a fresh desiccant packet if the old one has saturated.
Long-Term Storage (2 Years and Beyond)
Freezer storage is viable for multi-year banking, but it requires strict preparation. Seeds must be bone dry before freezing — any residual moisture will form ice crystals inside cellular structures and destroy the embryo. Vacuum sealing is strongly preferred over standard airtight jars for freezer use, as it eliminates oxygen and prevents frost accumulation. Once frozen, do not thaw and refreeze; retrieve only what you intend to use, allow the container to reach room temperature slowly (30–60 minutes), and let the seeds fully equilibrate before opening.
The fridge, honestly, is the more forgiving long-term option for most home growers. Stable, cold, and consistent — that's all seeds ask for. Store your seeds with the same care you'd give any living thing you value, and they'll reward you accordingly.
Container Choices: What Works and What Doesn't
Not all containers are created equal, and the wrong choice can actively harm seeds even when temperature and light are well managed.
Glass mason jars are the gold standard. They are airtight, non-reactive, impermeable to moisture, and easy to sterilise. Dark amber glass adds UV protection. Vacuum-sealed bags win on oxygen removal and are ideal for freezer storage. Dark plastic film canisters — the old 35mm type, were once a grower favourite and still work in a pinch, though plastic is marginally more gas-permeable than glass over long periods.
What to avoid: clear plastic bags, paper bags stored alone, cardboard boxes, and any container that previously held strongly scented foods. Terpene contamination is real — seeds can absorb volatile organic compounds through thin plastic, and arriving at germination with chemically stressed seeds is not the outcome anyone wants after months of careful storage.
Testing Seed Viability Before You Commit to a Grow
Suppose you pull a jar out of the back of the fridge and realise it's been in there for three years and you can't quite remember your storage protocol. Before you invest grow space, medium, nutrients, and weeks of time, run a quick viability check.
The float test is the simplest starting point: place seeds in a glass of plain, room-temperature water for an hour. Seeds that sink are typically healthy and dense; seeds that float may have hollow interiors or compromised embryos. This isn't definitive, but it's a useful first screen.
The paper towel germination test is more conclusive. Dampen (not saturate) two sheets of paper towel, place seeds between them, seal in a zip-lock bag, and keep at 21–25°C in darkness. Check every 24 hours for tap root emergence. If fewer than half your seeds show a tap root by day seven, germination rate is poor and you may want to adjust your planting density or source fresh genetics.
Pacific Seed Bank has put together a detailed step-by-step germination guide that walks you through both methods — and beyond, into proper seedling establishment, so you're never guessing once you decide to pop.
The Economics of Getting Storage Right
There is a direct financial argument for proper seed storage that doesn't get discussed enough. When you factor in the cost of growing your own cannabis — lighting, growing medium, nutrients, electricity, and of course the seeds themselves, losing a batch to poor storage is an expensive lesson. Premium feminised genetics are priced to reflect genuine breeding work, rigorous selection, and consistent performance. Treating those seeds as disposable, or assuming they'll survive on a shelf in a warm kitchen, is the cultivation equivalent of buying a good bottle of wine and leaving it in direct sunlight.
A mason jar, a couple of silica packets, and a dedicated shelf in your fridge costs you nothing. The return on that investment is measured in viable seedlings and successful harvests.
Why Seed Quality Sets the Ceiling
Even perfect storage cannot fix poor genetics. Seeds that were improperly handled before you received them — exposed to temperature swings in transit, stored in inadequate conditions at the point of origin, or produced from poorly managed breeding stock, will underperform regardless of how carefully you keep them. This is why sourcing matters as much as storage.
Pacific Seed Bank curates a catalogue of over 150 top-performing feminised strains, built on more than 20 years of horticultural expertise. Every seed ships from genetics selected for consistent phenotype expression, high germination rates, and the kind of cannabinoid and terpene profiles that actually deliver on the label. No male plants, no mystery genetics, no compromised embryos from sloppy post-harvest handling.
Whether you're a first-time grower in British Columbia setting up a 1-metre-square tent or an experienced cultivator dialling in a perpetual harvest, strong seeds are the foundation everything else is built on. Browse our full Marjiuana Education library for grow guides, training technique deep-dives, and strain-specific advice that meets you wherever you are in your cultivation journey.
Store your seeds with intention. Source them from a bank that holds itself to the same standard. And when the time comes to finally crack that jar open, you'll have exactly what you were protecting all along — a living seed, fully charged, ready to grow.
Keep Reading
Do Pot Seeds Go Bad? The Real Scoop on Seed Shelf Life
Do pot seeds go bad? Yup. Find out how long cannabis seeds last, how to spot bad ones, and the best storage tricks to keep your seeds viable for years.
Cannabis Terms Explained: Vocabulary For New Growers
From Bud to Bloom: Your Guide to the Cannabis Flowering Stage
