Can Weed Seeds Go Bad?
· 9 min read
Pull open a forgotten junk drawer and you might find them — a small envelope of cannabis seeds tucked behind batteries and rubber bands, maybe two or three years old if you're lucky, longer if you're not. The question that follows is almost always the same: are these still any good? It's not a trivial concern. A seed is a living organism, and like any living thing, it has a shelf life shaped entirely by how it's been treated. Under ideal conditions, cannabis seeds can remain viable for up to five years or more. Under poor ones, they can lose germination viability within twelve months. The difference lies in biology, storage science, and a few simple habits any Canadian grower can adopt.
What Makes Cannabis Seeds Go Bad?
Seeds degrade when their internal biology is disrupted — and four environmental forces are responsible for the vast majority of that disruption. Understanding each one is the first step toward avoiding them.
Heat is perhaps the most aggressive enemy. Temperatures above 25°C accelerate enzymatic breakdown inside the seed embryo, aging the seed far faster than nature intended. A bag of seeds left on a sun-facing windowsill in a Vancouver summer or on the dash of a parked car can suffer meaningful viability loss in a matter of days.
Light compounds the heat problem but causes independent damage too. Ultraviolet exposure degrades lipids and proteins within the seed's endosperm — the energy reserve that fuels the first push of germination. Always store seeds somewhere genuinely dark, not just dim.
Humidity is the trickiest variable of all. Even a modest rise in relative humidity can signal a dormant seed to begin the germination process. If that signal fires without the seed being in soil, with consistent moisture and warmth, the embryo expends its stored energy and dies. Equally damaging is the wet-dry cycle: a seed that absorbs moisture and then desiccates again experiences cellular stress that permanently compromises its structure. For growers who also contend with moisture management in their growing space, the same principles that apply to humidity control in a grow tent translate directly to seed storage — stable relative humidity between 20% and 30% RH is the target.
Oxygen is the slow, silent culprit. Free radicals produced through oxidation gradually degrade the seed's fats and genetic material over time. A loosely capped jar or a resealable bag opened repeatedly will accelerate this process significantly.
- Heat above 25°C — enzymatic breakdown of the seed embryo
- Direct or UV light — lipid and protein degradation in the endosperm
- Humidity fluctuations — premature germination trigger or cellular stress damage
- Oxygen exposure — oxidative decay of fats and genetic integrity
How Long Do Cannabis Seeds Actually Last?
Under genuinely optimal storage — cool, dark, dry, oxygen-minimised, cannabis seeds can remain viable for three to five years with high germination rates. Stories of six- or seven-year-old seeds sprouting do circulate in experienced growing communities, and they're not always apocryphal. But those are outliers, not benchmarks to plan around.
A more practical framework: seeds stored correctly in a fridge at 6–8°C with stable humidity typically hold 80%+ germination rates for two to three years. By year four or five, you might be looking at 40–60% viability — still worth attempting, but expect to start more seeds than you need. Beyond five years, germination becomes increasingly unpredictable regardless of storage quality.
Think of it like this. A well-sealed jar of dried lentils can sit in your pantry for years, still perfectly cookable. Leave those same lentils in an open bowl on a humid counter, and they'll be soft, mouldy, and worthless in weeks. Cannabis seeds follow a strikingly similar logic — the container and the conditions matter more than the calendar alone.
Genetics also play a role. Premium feminised and autoflowering seeds from reputable breeders tend to hold viability longer than bagseed or seeds of uncertain provenance, in part because the parent plants were healthier and the seed production was more carefully managed. It's one more reason sourcing quality genetics upfront pays dividends long after the purchase.
How to Tell If Your Seeds Are Still Good
No single test is conclusive, but layering several assessments together gives you a reliable picture before you invest time and media into germination.
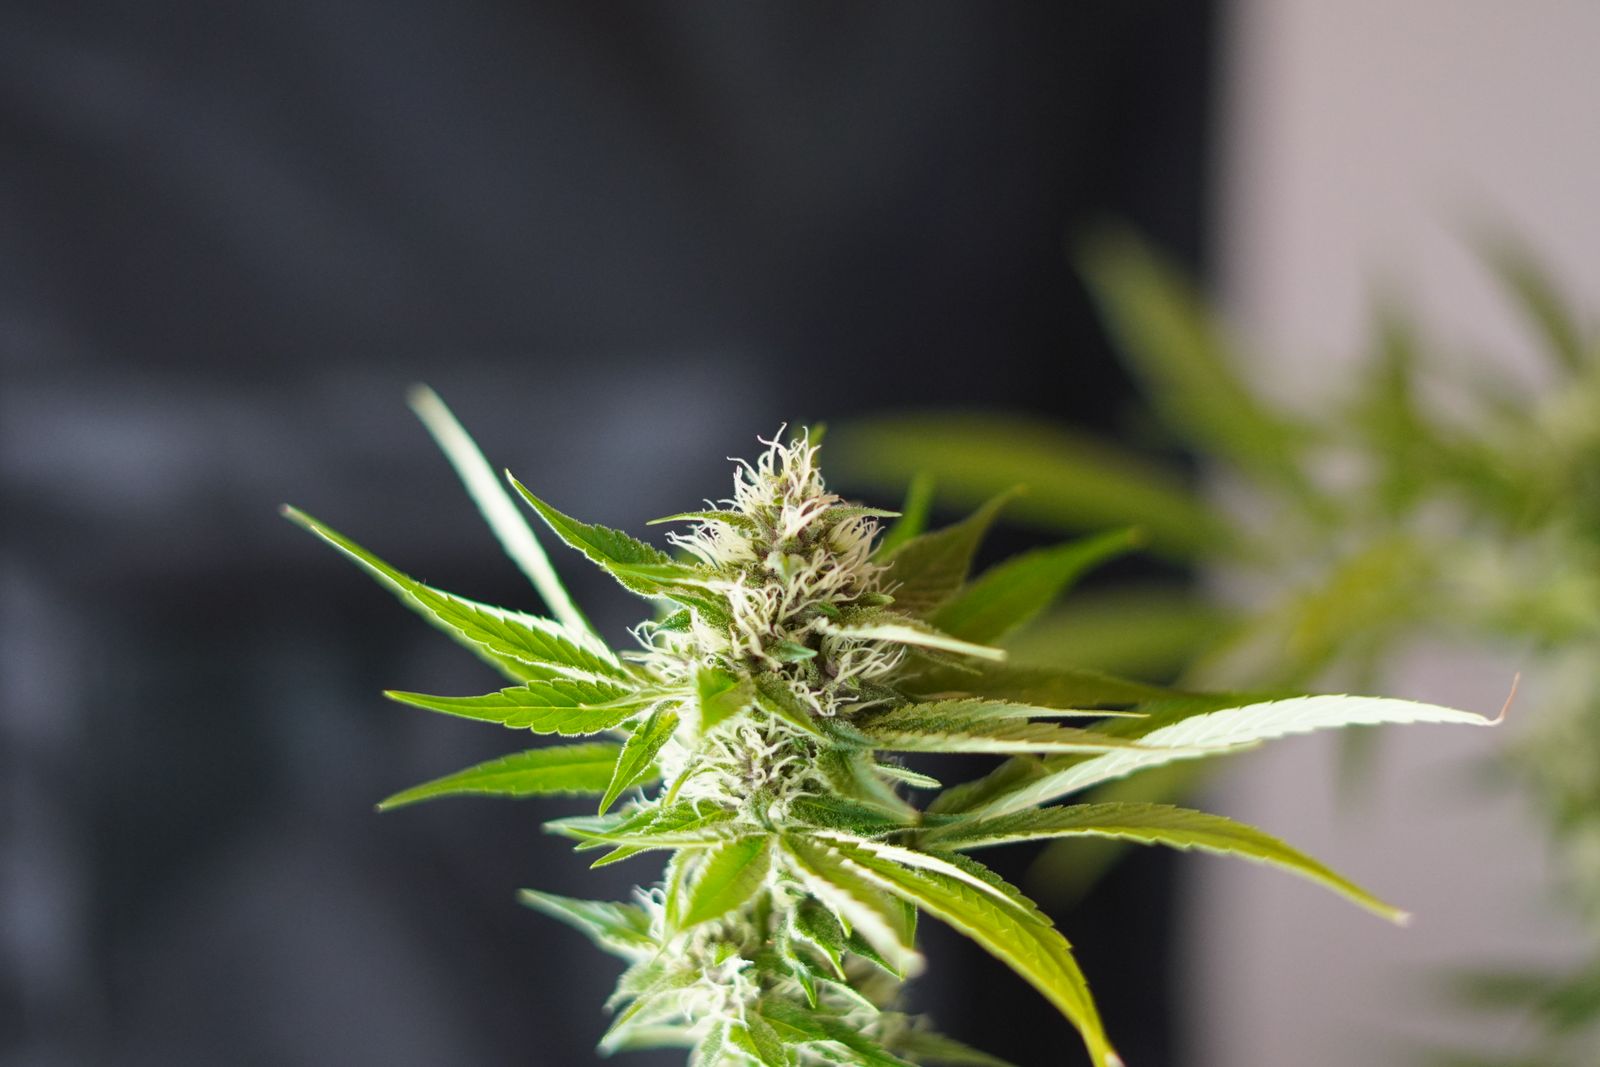
Visual inspection is your first filter. Healthy, mature cannabis seeds have darker shells — shades of brown, grey, tan, and sometimes nearly black, often with a mottled or tiger-stripe pattern and a subtle waxy sheen. Pale green, white, or uniformly beige seeds are typically immature and have poor germination prospects regardless of storage age. Cracked, crushed, or noticeably shrivelled shells are an immediate red flag.
The squeeze test is quick and informative. Place a single seed between your thumb and forefinger and apply gentle, even pressure. A viable seed should feel dense and firm — it should resist without crumbling. A seed that collapses, cracks, or feels hollow is likely desiccated beyond recovery.
The float test offers additional data but comes with a caveat. Place seeds in a small glass of room-temperature water and observe after 10–15 minutes. Seeds that sink are generally denser and more likely to be viable. Seeds that float may be hollow or too dry inside. The caveat: this test introduces moisture, so if you're not germinating immediately after, you've potentially triggered the very humidity stress you were trying to avoid. Use this test only on seeds you intend to germinate that same day.
- Visually inspect for dark colouration, waxy sheen, and intact shell
- Apply gentle pressure — firm and dense means alive; hollow or crumbling means not
- Float test in room-temperature water for 10–15 minutes, only if germinating immediately
- Attempt germination — the paper towel method is the definitive final test
Germination as the Ultimate Verdict
All the visual and tactile assessments in the world are secondary to the paper towel test. It remains the most reliable, lowest-cost method for confirming viability before committing seeds to a full grow setup.
Dampen a paper towel with distilled or pH-adjusted water (aim for 6.0–6.5 pH), place your seeds on one half, fold the towel over them, and tuck the whole thing into a resealable bag or between two plates. Keep it in a consistently warm spot — 22–26°C is ideal. Most healthy, fresh seeds crack and show a taproot within 24 to 72 hours. Seeds that take four to seven days are slower but may still succeed. Seeds showing no movement past ten days are almost non-viable.
Older seeds sometimes benefit from two pre-germination techniques. Scarification — gently abrading the seed shell with fine sandpaper or the striking surface of a matchbox, can help water penetrate a hardened or waxy coat. A 12-hour soak in slightly warmed water with one or two drops of 3% hydrogen peroxide (the drugstore variety) can soften the shell and add a small amount of oxygen that stimulates the embryo. Neither technique is a miracle cure for seeds that are genuinely dead, but they can meaningfully improve the odds for seeds that are merely dormant and stubborn.
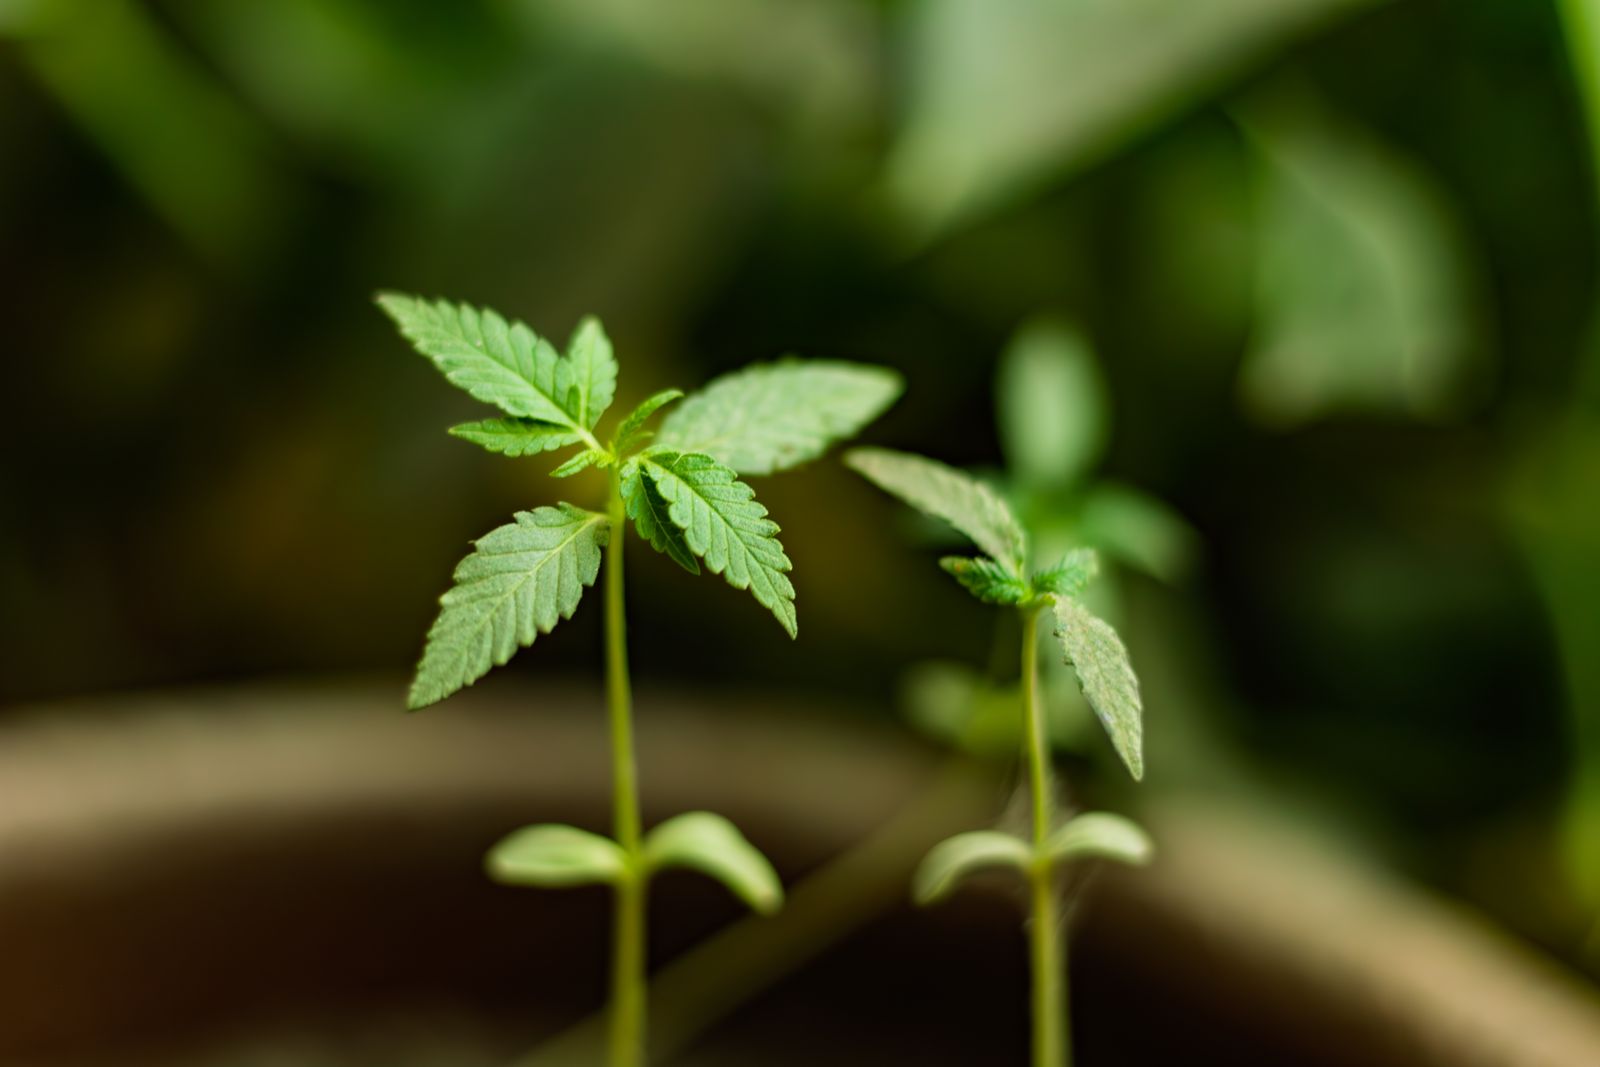
If a seed does sprout, treat that seedling with extra care — older-seed sprouts are sometimes slower to establish and more sensitive to environmental stress in the first two weeks.
Proper Storage: The Habits That Make Seeds Last
There's an enormous gap between "stored in a drawer" and "stored correctly." Most seed degradation in home collections is entirely preventable with modest effort and inexpensive materials.
Short-term storage (under 12 months): A cool, dark cupboard or closet away from heat sources is sufficient. Keep seeds in their original packaging inside an opaque envelope or small paper bag. Avoid anywhere near an oven, water heater, or exterior wall that experiences temperature swings.
Long-term storage (one to five years): An airtight glass jar — the type with a rubber-seal lid, is the gold standard. Add a small silica gel desiccant packet to control internal humidity. Store the sealed jar in the back of a refrigerator, ideally in the crisper drawer where temperature is most stable. A dedicated mini-fridge set to 6–8°C and never used for food (which gets opened constantly) is even better.
A few additional habits that separate disciplined seed keepers from those who end up with a drawer full of question marks:
- Label every container with strain name, seed type (auto or feminised), source, and date of acquisition
- Minimise how often you open the storage container — batch your retrieval sessions
- Allow cold-stored seeds to warm to room temperature before opening the container, preventing condensation from forming on the seeds
- Never store seeds in a freezer unless you have professional vacuum-sealed packaging — the freeze-thaw cycle causes cellular ice damage that destroys viability faster than room-temperature storage
- Keep seed stock in a consistent first-in, first-out rotation — older seeds get used before newer ones
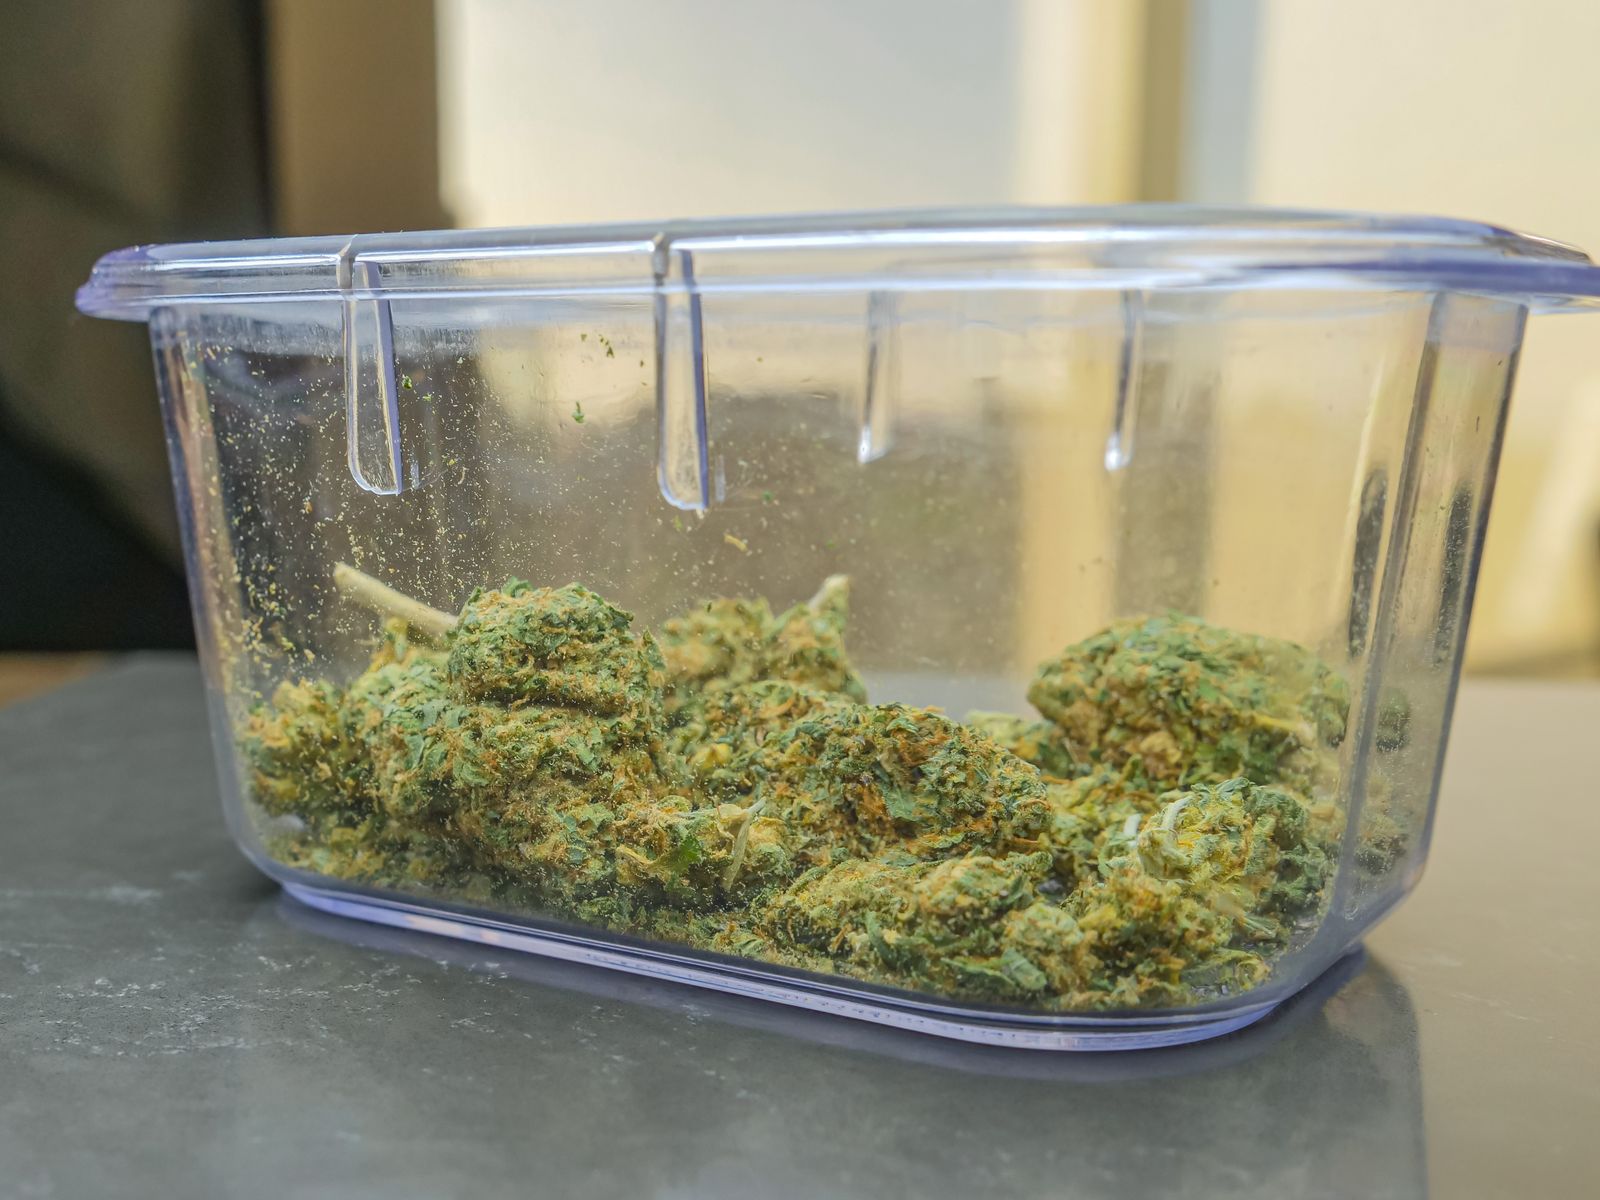
The container itself matters less than the environment inside it. A 500 mL mason jar with a tight-sealing lid and a fresh silica packet outperforms an expensive seed vault left in a warm room with fluctuating humidity every time.
Are Old Seeds Worth Planting? An Honest Assessment
The honest answer is: it depends on what you're risking and what you stand to gain.
If your grow space is limited — a 1.2 × 1.2 m tent under a 600-watt HPS, for example, every square metre of canopy is precious. Starting six seeds to get two viable plants is a reasonable hedge with fresh genetics. Doing the same with a batch of four-year-old seeds of unknown provenance could mean weeks of waiting for a 20% germination rate and stunted, slow-growing plants that yield a fraction of what the space could produce. In that scenario, investing in fresh, professionally produced feminised seeds from a reliable Canadian source is almost always the better economic decision.
On the other hand, if you're growing in a larger outdoor space permitted under the Cannabis Act (up to four plants per household for personal cultivation), have extra containers, and are genuinely curious — an old batch of seeds is worth testing. Recovering rare or sentimental genetics from an aging seed lot is one of the more satisfying experiences in home growing. One viable plant from a ten-year-old seed can become a mother plant, a source of clones, or, if it's a seeded female, a whole new generation of fresh, viable seeds.
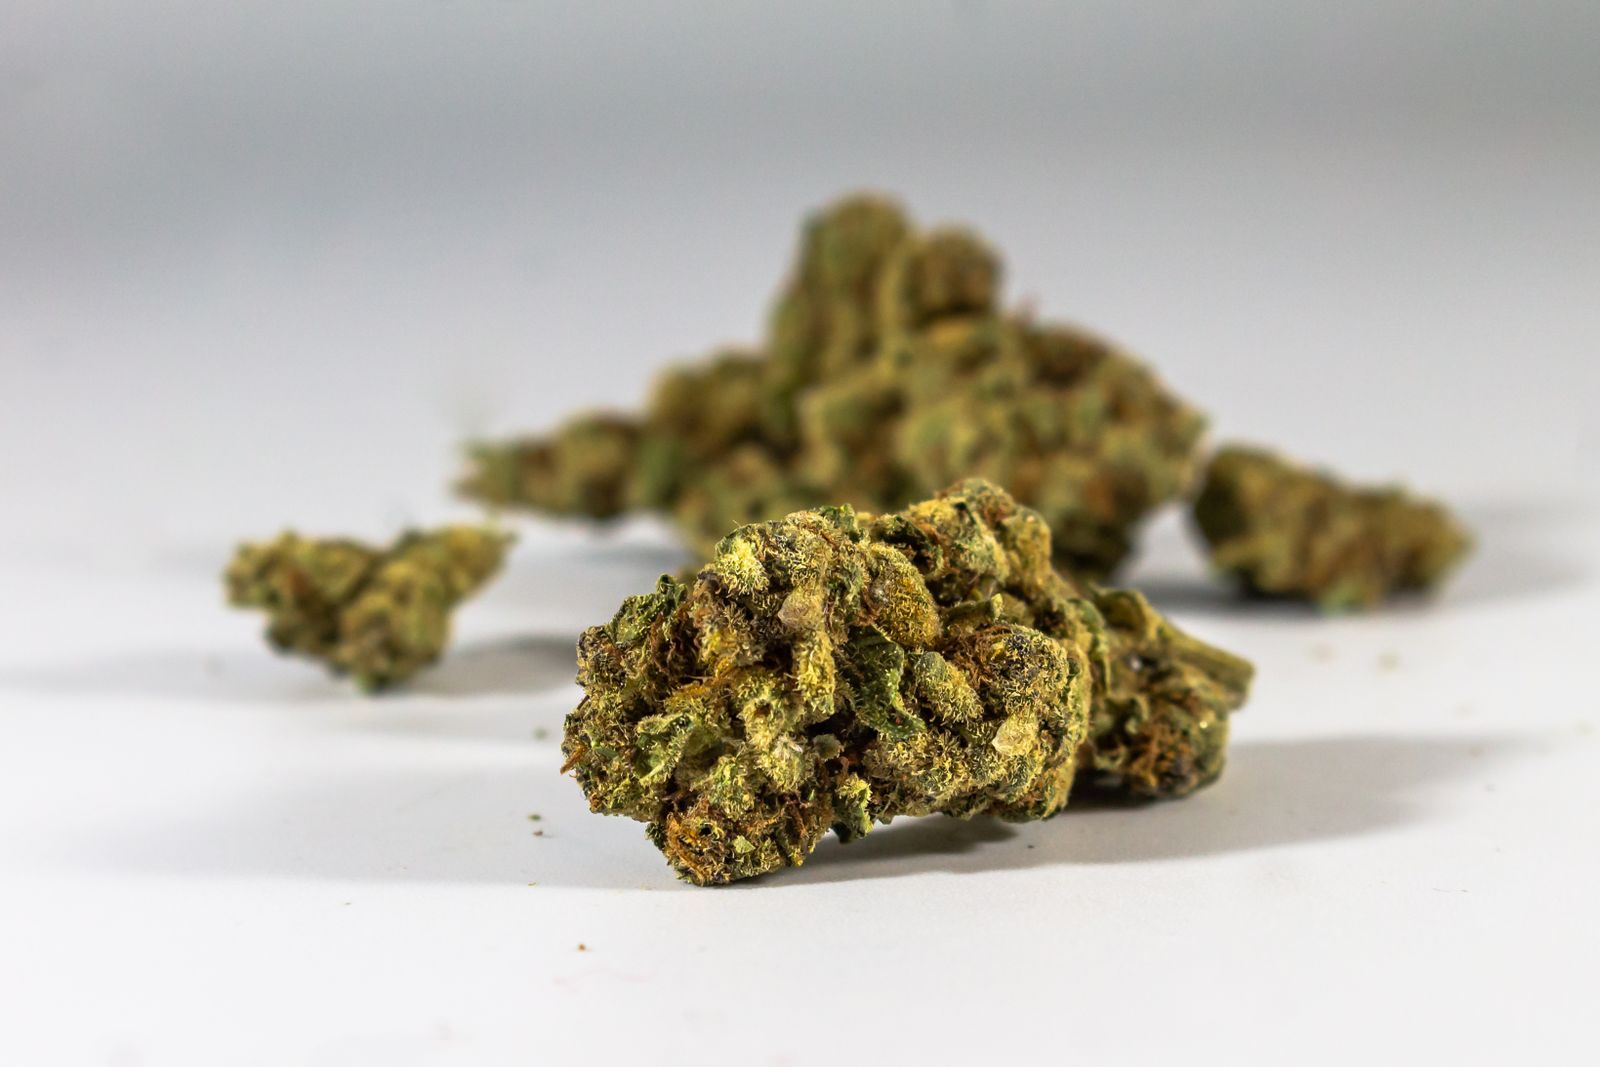
High-quality genetics hold viability longer. Seeds produced by vigorous, well-fed, properly flushed parent plants under stable growing conditions simply have more stored energy and better-organised cellular structure than seeds from stressed, hermaphroditic, or nutrient-burned plants. Where your seeds came from matters almost as much as how you've stored them.
Compare fresh feminised seeds from a known breeder with mystery bagseed found in a random purchase: the breeder seeds, even at three years old under correct storage, will almost outperform the bagseed at one year old. Genetics and production quality are not cosmetic details — they're foundational to every outcome from germination to final yield.
Before You Write Them Off, Give Them a Chance
Canadian growers navigating our short outdoor seasons and variable indoor costs know better than most that waste is expensive. Before discarding any seed lot, run the gauntlet: visual check, squeeze test, float test if germinating immediately, and the paper towel method on a sample of five to ten seeds. Your results will tell you quickly whether the batch is worth continuing with or whether you're better served ordering fresh.
For more cultivation guidance, strain profiles, and grow technique breakdowns, the Marijuana Education section at Pacific Seed Bank Canada is a reliable starting point — whether you're troubleshooting a seedling problem or planning your next grow from scratch.
Seeds are patient. They wait in their shells for conditions that tell them it's time. Your job as a grower is simply to make sure that when the time comes, you've given them the best possible chance to answer the call.
Keep Reading
Do Pot Seeds Go Bad? The Real Scoop on Seed Shelf Life
Do pot seeds go bad? Yup. Find out how long cannabis seeds last, how to spot bad ones, and the best storage tricks to keep your seeds viable for years.
Cannabis Terms Explained: Vocabulary For New Growers
Cannabis Seed Storage Tips for Maximum Shelf Life