Cannabis Pests – How to Keep Them Away From Your Plants
· 10 min read · Updated May 14, 2026
Most cannabis pest problems aren't caused by bad luck — they're caused by a single overlooked moment: muddy boots walked into a grow room, a batch of unsterilised soil, or one forgotten week without a plant inspection. Under Canada's Cannabis Act, adults can legally cultivate up to four plants per household for personal use, and that small legal garden deserves the same rigorous pest management a commercial operation would apply. The difference between a generous autumn harvest and a crop riddled with spider mites often comes down to five organic habits practised consistently from seedling to flush.
Why Organic Pest Control Is Worth the Extra Effort
The temptation to reach for a commercial pesticide the moment you spot a bug is understandable, but it's a shortcut that tends to cost more than it saves. Harsh chemical treatments leave residues that survive drying and curing, end up in your lungs, and — depending on the formulation, can interact unpredictably with the terpene and cannabinoid profile of your finished flower.
Organic methods, by contrast, work with your plant's biology rather than against it.
There is also a more fundamental reason to go organic: control. When you manage pests through cultural practices, companion planting, and botanical sprays, you know exactly what has touched your plants at every stage. That peace of mind is genuinely valuable, especially when you're growing medicine for yourself or for a family member with health concerns.
- Organic approaches preserve the microbial life in living soil, which supports vigorous root development and natural disease suppression.
- They are safe to apply throughout the vegetative and early flowering stages without risking residue buildup on developing trichomes.
- They are almost universally cheaper than commercial pesticide programmes — most involve ingredients already in your kitchen or garden shed.
- They align with the spirit of home cultivation under the Cannabis Act: personal, transparent, and accountable.
Once bugs or moulds establish a foothold, eradication becomes exponentially harder than prevention. The strategies below are best understood as a layered system — each layer reinforces the others, rather than a menu of individual fixes.
How to Inspect Your Plants and Catch Problems Early
Vigilance is the cheapest pest control tool you own.
Every diligent cannabis grower should build a weekly — ideally twice-weekly, inspection ritual into their grow schedule. You are looking for yellowing leaf edges, stippled or silvery foliage (the hallmark of spider mite feeding), tiny dark specks on the undersides of leaves (mite frass or aphid colonies), webbing between branches, sooty black mould on leaf surfaces, and any structural softening of stems or buds that could indicate Botrytis (grey mould). Catching any one of these signs in its first week of development gives you options; catching it in week three gives you a crisis.
Three non-negotiable rules for diligent home growers:
- Never enter your grow space directly after coming in from outdoors. Change clothes, wash your hands, and wait. Fungus gnat eggs, spider mite adults, and thrips larvae hitchhike on fabric and skin with surprising ease.
- Do not introduce cut flowers or non-companion plants into the grow room. A fresh bouquet from a farmers' market can carry aphids, thrips, or powdery mildew spores. Keep the grow room biologically isolated.
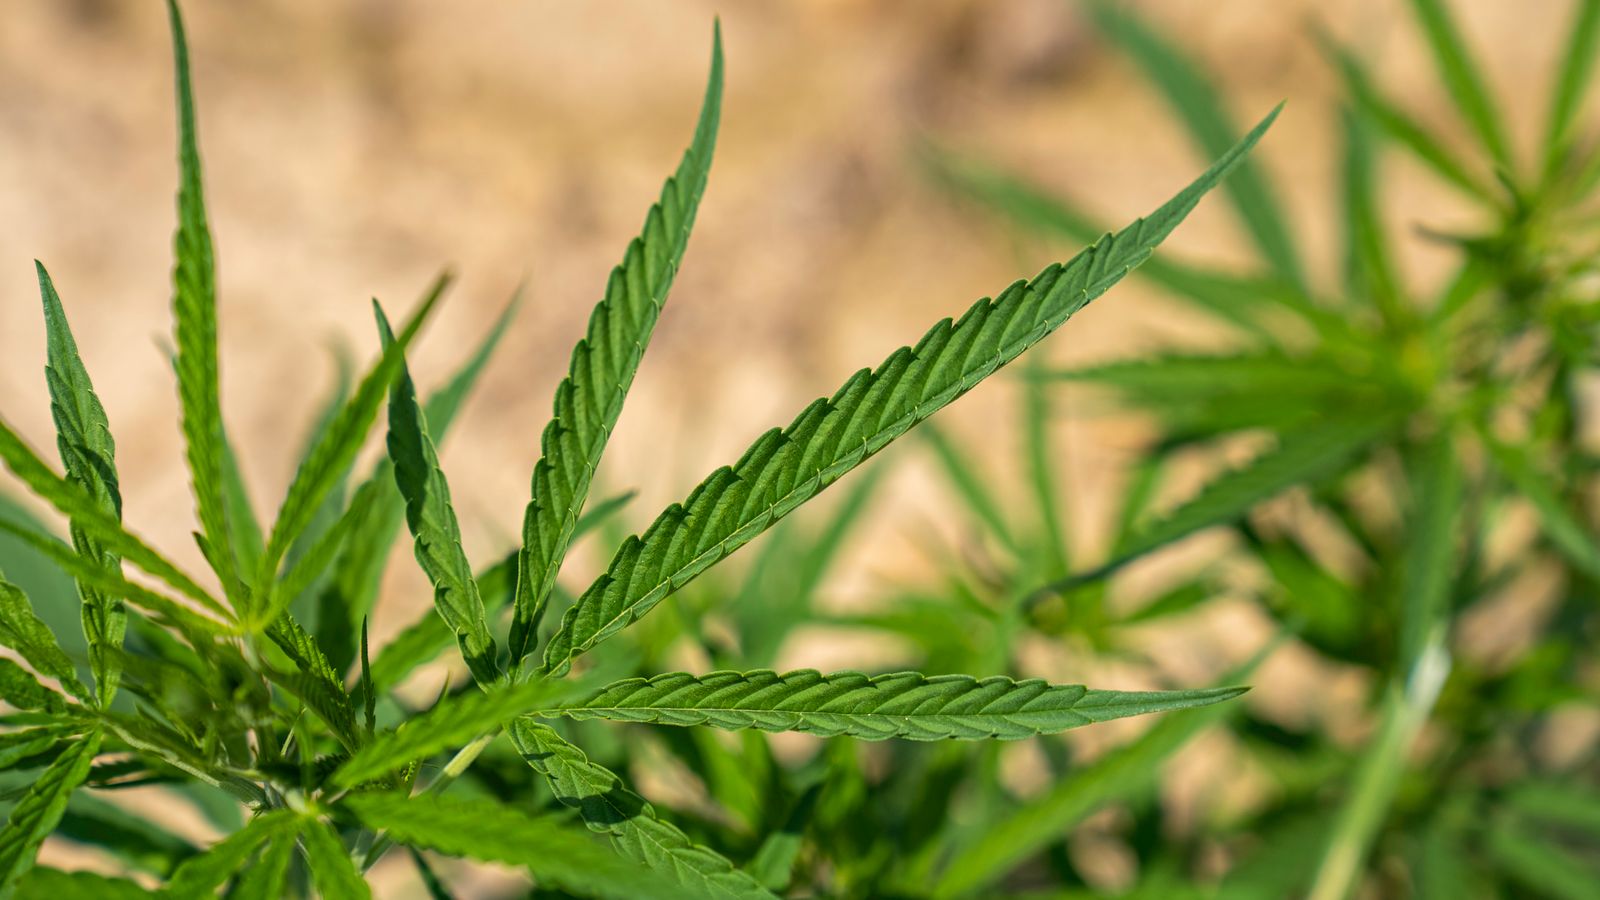
- Inspect the undersides of leaves, not just the tops. Nearly every common cannabis pest — spider mites, aphids, whiteflies, russet mites — colonises the abaxial (lower) leaf surface first. Checking only the top is checking only half the plant.
A handheld jeweller's loupe at 30× magnification is a worthwhile investment for any serious home cultivator. What looks like dust to the naked eye is unmistakably a mite colony under magnification, and identifying the specific pest determines the correct intervention.
Sterilised Soil: Starting Clean Before a Single Seed Goes In
Soil is not inert. A bag of potting mix purchased from a garden centre can harbour fungus gnat eggs, root aphid larvae, pythium spores, and weed seeds — none of which you want in a sealed indoor grow space where there are no natural predators to keep populations in check. This is especially worth noting for growers who buy for your gardening project from a mix of online and local sources; quality varies considerably.
You can sterilise your own soil without purchasing an expensive commercial product. Heat the substrate to an internal temperature of 71–82°C in a conventional oven (roughly 180°C ambient air temperature, checking core temp with a meat thermometer). Hold that temperature for 30 minutes. This range is sufficient to kill the vast majority of pest eggs, larvae, weed seeds, and fungal propagules.
Important caveat: sterilisation at these temperatures destroys not only pathogens but also the beneficial microbial communities and many of the soluble nutrients your plants depend on. After sterilising, you are starting with a biologically blank medium. Reintroduce a high-quality organic fertiliser and, if you work with living soil methodology, re-inoculate with mycorrhizal fungi and beneficial bacteria before transplanting.
Sterilised soil paired with a clean grow room gives your plants the cleanest possible start — and that head start pays dividends all the way to harvest.
Airflow and Vapour Pressure Deficit: Your First Line of Environmental Defence
An oscillating fan is one of the most cost-effective pieces of pest-prevention equipment in a home grow setup.
Winged insects — fungus gnats, whiteflies, thrips adults, are poor fliers that struggle to navigate and land in moving air. A consistent breeze at canopy level disrupts their flight patterns and makes colonisation significantly harder. Beyond pest deterrence, proper airflow is essential for managing vapour pressure deficit (VPD). Cannabis thrives at a VPD of roughly 0.8–1.2 kPa during vegetative growth and 1.0–1.5 kPa during flowering; straying outside these ranges creates the warm, humid microclimates where powdery mildew and Botrytis flourish.
Compare the two scenarios side by side:
Stagnant air, 70%+ relative humidity: leaf surface moisture remains elevated, stomata struggle to transpire efficiently, powdery mildew spores germinate readily, fungus gnat populations explode in perpetually damp topsoil, and dense canopy interiors become incubators for grey mould in late flowering.
Active airflow, 50–60% RH in veg / 40–50% RH in flower: leaf surfaces dry rapidly between waterings, mould spores fail to germinate on dry tissue, fungus gnats cannot establish in drier topsoil, and the gentle stem movement triggered by a breeze actually stimulates thicker cell walls — a structural defence against both insects and disease.
Place a second exhaust fan high in the grow space to expel warm humid air, and a passive intake low on the opposite wall to draw in fresh, cooler air. This diagonal airflow pattern prevents dead zones where humidity can pool.
Diatomaceous Earth, Companion Planting, and Other Mechanical Defences
Not every pest solution comes in a bottle. Some of the most reliable methods are purely physical or ecological.
Diatomaceous Earth
Diatomaceous earth (DE) is fossilised silica — the skeletal remains of microscopic aquatic algae, ground to a fine powder. To mammals and plants it is completely inert; to insects with exoskeletons it is lethal. The microscopic sharp edges lacerate the waxy cuticle of crawling insects on contact, causing rapid dehydration and death. Dust food-grade DE across the topsoil surface, along baseboards, and at any potential entry point insects might use. Reapply after watering, as moisture temporarily reduces its efficacy.
Companion Planting
Viticulturists have planted rose bushes at the head of vineyard rows for centuries — roses are susceptible to the same mildews and aphids that attack grapevines, so they serve as an early warning system. Cannabis growers can use similar techniques when growing marijuana, selecting companion plants whose chemistry, scent, or root exudates actively protect the main crop.
The most reliable cannabis companions:
- Basil — its volatile oils (linalool, eugenol) repel thrips, aphids, beetles, and flies. Some growers report enhanced terpene expression in adjacent cannabis plants, though the mechanism is debated.
- Beans — legumes fix atmospheric nitrogen into soil nitrates via root-nodule bacteria, providing a slow-release nitrogen source that benefits rapid vegetative growth.
- Garlic — a potent natural fungicide and insect deterrent. Allicin, the sulphur compound responsible for garlic's sharp aroma, is toxic to soft-bodied insects and suppresses fungal colonisation at the root zone. Garlic Bud Feminized, the pungent, resin-heavy indica-dominant classic, is worth growing in its own right — but as a companion plant, actual culinary garlic is what you want around your other varieties.
- Mint — menthol is profoundly repellent to a broad spectrum of cannabis pests. Keep mint in pots rather than ground-planted, as it spreads aggressively and will compete with your cannabis roots if left unchecked.
- Chili peppers — root exudates from Capsicum species are believed to suppress soil-borne fungal rot. The above-ground plant also provides some wind protection in outdoor settings.
Marigolds and geraniums deserve special mention for outdoor and greenhouse grows. Both release terpenes that are broadly repellent to leaf-eating caterpillars, aphids, and nematodes, and marigolds in particular attract predatory insects like lacewings and parasitic wasps that feed on common cannabis pests.
Organic Spray Repellents: DIY Formulas That Actually Work
Commercial organic sprays exist and can be useful, but the most effective repellent programme is often one you mix yourself — because you control the concentration, the timing, and the ingredients.
Base Formulas
- Oil-and-soap spray: combine 250 mL vegetable oil with 15 mL of mild liquid soap. Dilute 10 mL of this concentrate into 1 litre of water in a spray bottle. This smothers soft-bodied insects and disrupts their respiratory spiracles.
- Soap-and-water spray: dissolve 7 mL of mild castile soap in 1 litre of water. Effective against aphids, whiteflies, and early-stage mite infestations.
Boosting Your Spray
Either base formula benefits from the addition of botanical actives. Neem oil is the single most powerful addition you can make — azadirachtin, the active compound in cold-pressed neem, disrupts the hormonal development of insect larvae, effectively preventing them from reaching reproductive maturity. Use 5–10 mL of neem oil per litre of spray, emulsified with a few drops of soap to keep it in suspension. Apply at dusk or dawn, when UV exposure is lowest and beneficial insects are less active, to maximise persistence and minimise collateral impact.
Additional botanical enhancers worth considering:
- Garlic extract — 2–3 crushed cloves steeped overnight in 500 mL of water, then strained and added to your base spray.
- Chili powder or cayenne — 5 g per litre acts as a contact irritant to crawling insects and deters feeding.
- Cinnamon oil, clove oil, coriander oil — each has documented pesticidal properties against fungal spores and soft-bodied insects. Use sparingly (2–3 drops per litre) and always perform a patch test on one or two leaves 24 hours before full-canopy application. Certain phenotypes show phytotoxic sensitivity to concentrated essential oils, and it is far better to discover that on a single leaf than across your entire canopy.
A critical timing note: stop all foliar spraying at the onset of week 3 of flowering, at the absolute latest. Spraying a heavy trichome canopy traps moisture, creating ideal conditions for Botrytis — the very pathogen you may be trying to prevent. After this point, rely on environmental controls, beneficial insects, and soil-level treatments only.
Building Your Pest Prevention System: A Practical Summary
Pest management is not a single action — it is a discipline maintained across the entire life cycle of your plants. The growers who lose crops to infestations are almost never surprised by the pest itself; they are surprised by how quickly a small, ignored problem becomes an unmanageable one.
A robust, layered system looks like this:
- Pre-grow: sterilise your growing medium, clean your grow space with a dilute hydrogen peroxide solution, inspect any clones or seedlings from outside sources before introducing them.
- Environmental baseline: establish target VPD, install oscillating fans at canopy level and exhaust fans at ceiling height, seal gaps where outdoor air (and hitchhiking insects) can enter.
- Passive mechanical: apply diatomaceous earth to topsoil and entry points; introduce companion plants at the perimeter of your grow space.
- Active biological: introduce predatory insects — Phytoseiulus persimilis for spider mites, Steinernema feltiae nematodes for fungus gnats — at the first sign of an established population, before spraying kills the beneficials.
- Chemical organic (as needed): deploy neem oil, soap sprays, and botanical essential oils during vegetative and early flowering stages. Cease all foliar applications by early-mid flower.
- Ongoing inspection: twice-weekly visual checks, undersides of leaves, base of stems, topsoil surface. Log what you find and when.
Follow this sequence and you will spend very little time fighting fires, because you will have made your garden inhospitable to the sparks that start them. Healthy, vigorously grown plants — fed properly, kept in optimal VPD conditions, and started from quality genetics, are meaningfully more resistant to pest pressure than stressed ones. The investment you make in prevention is repaid every harvest, in flower that is clean, aromatic, and entirely yours.
Keep Reading

How Much Does It Cost To Grow Your Own Weed in Canada?
Learn the real costs of growing weed at home, including grow tents, lights, seeds, nutrients, electricity, and how much cannabis you can harvest.

The 5 Best Blueberry Cannabis Strains To Grow Indoors
Find the best blueberry weed strains to grow indoors, including Blue Dream, Blueberry Cheesecake, and more - and buy the seeds from Pacific Seed Bank.

Why 5.8–6.5 Is The Ideal pH for Cannabis (And When to Adjust)
Learn why 5.8-6.5 is the ideal pH for cannabis plants, how to test your plant's pH, and how to adjust it higher or lower when you need to.

The Best Autoflowering Light Schedule For Bigger Yields
Stop guessing your autoflowering light schedule. Our guide breaks down the 18/6, 20/4, and 24/0 schedules to help you grow bigger, better plants.