How to Start Your Cannabis Seeds Indoors
10 min read · , updated May 14, 2026
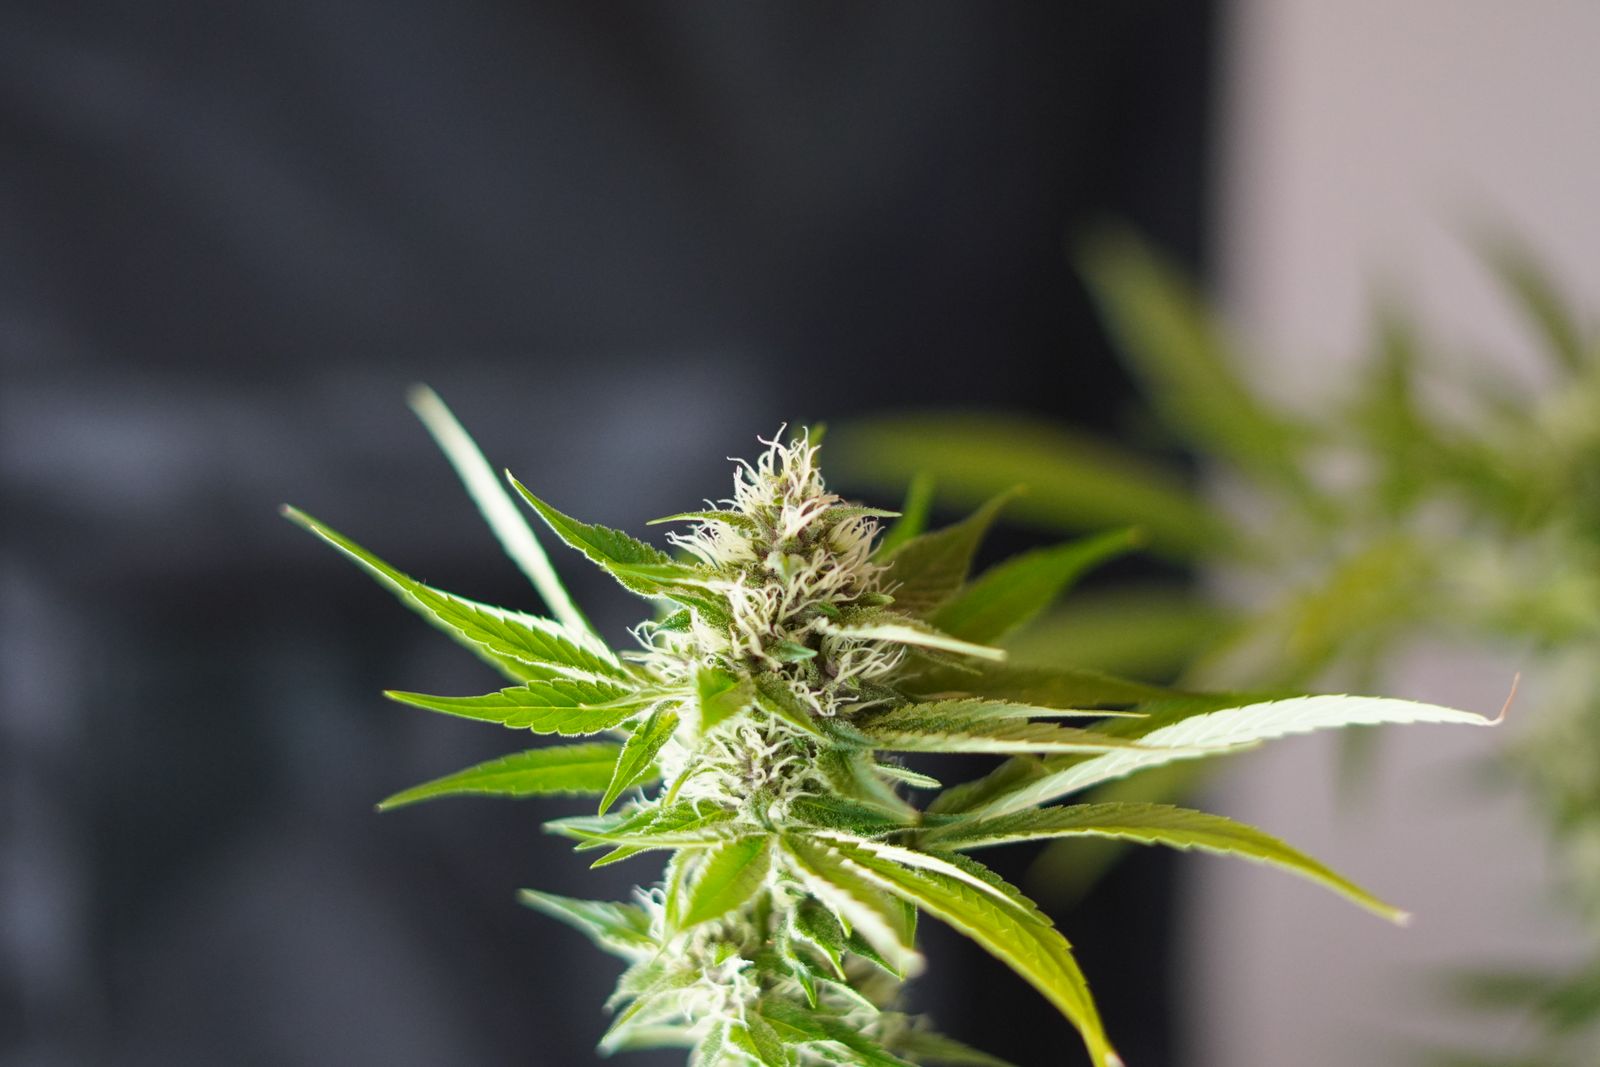
The single biggest predictor of a successful cannabis grow isn't your light fixture, your nutrients, or even your genetics — it's what happens in the first two weeks. Get the indoor start right, and every phase that follows benefits. Rush it or ignore the details, and you're chasing problems all season long.
Starting cannabis seeds indoors gives Canadian growers something the outdoor environment rarely offers before June: complete control. You control temperature, humidity, light duration, and soil composition from the moment that taproot emerges. In a country where spring frosts can linger into late May across much of British Columbia, Alberta, and Ontario, that head start isn't a luxury — it's strategy.
This guide walks you through every stage of an indoor start, from seed selection through transplant-readiness, with the kind of specific, practical detail that actually makes a difference at the workbench.
Choosing the Right Seeds for an Indoor Start
Seed selection shapes everything downstream — growth speed, canopy height, sensitivity to environmental stress, and ultimately yield. Make this choice deliberately, not by default.
There are three main categories to understand before you order:
- Feminised seeds are bred to produce only female plants, eliminating the risk of males pollinating your crop. For home growers operating under the Canadian Cannabis Act's personal cultivation limit of four plants per household, wasting a plant on a male is a real cost. Feminised seeds remove that variable entirely.
- Autoflowering seeds transition from vegetative growth to flowering based on age rather than light cycle — typically 70 to 90 days from seed to harvest. They stay compact (often under 90 cm), tolerate cooler temperatures better than photoperiod strains, and ask very little of beginners. The trade-off is that training techniques like topping require precise timing because autos don't pause to recover the way photoperiod plants do.
- Regular seeds produce roughly a 50/50 split of male and female plants. Unless you're breeding or pursuing specific phenotype selection, most indoor home growers have little reason to start here.
For first-time indoor growers, an autoflowering feminised variety is almost always the most forgiving choice. Something like Blue Dream Auto — the sativa-leaning coastal classic with its smooth blueberry-and-vanilla terpene profile, germinates reliably, grows with vigour, and doesn't punish minor environmental lapses the way a sensitive photoperiod strain might. Alternatively, a robust indica-dominant feminised strain like an OG Kush or Northern Lights feminised will give you slower, stockier growth that's easier to manage under a small LED panel.
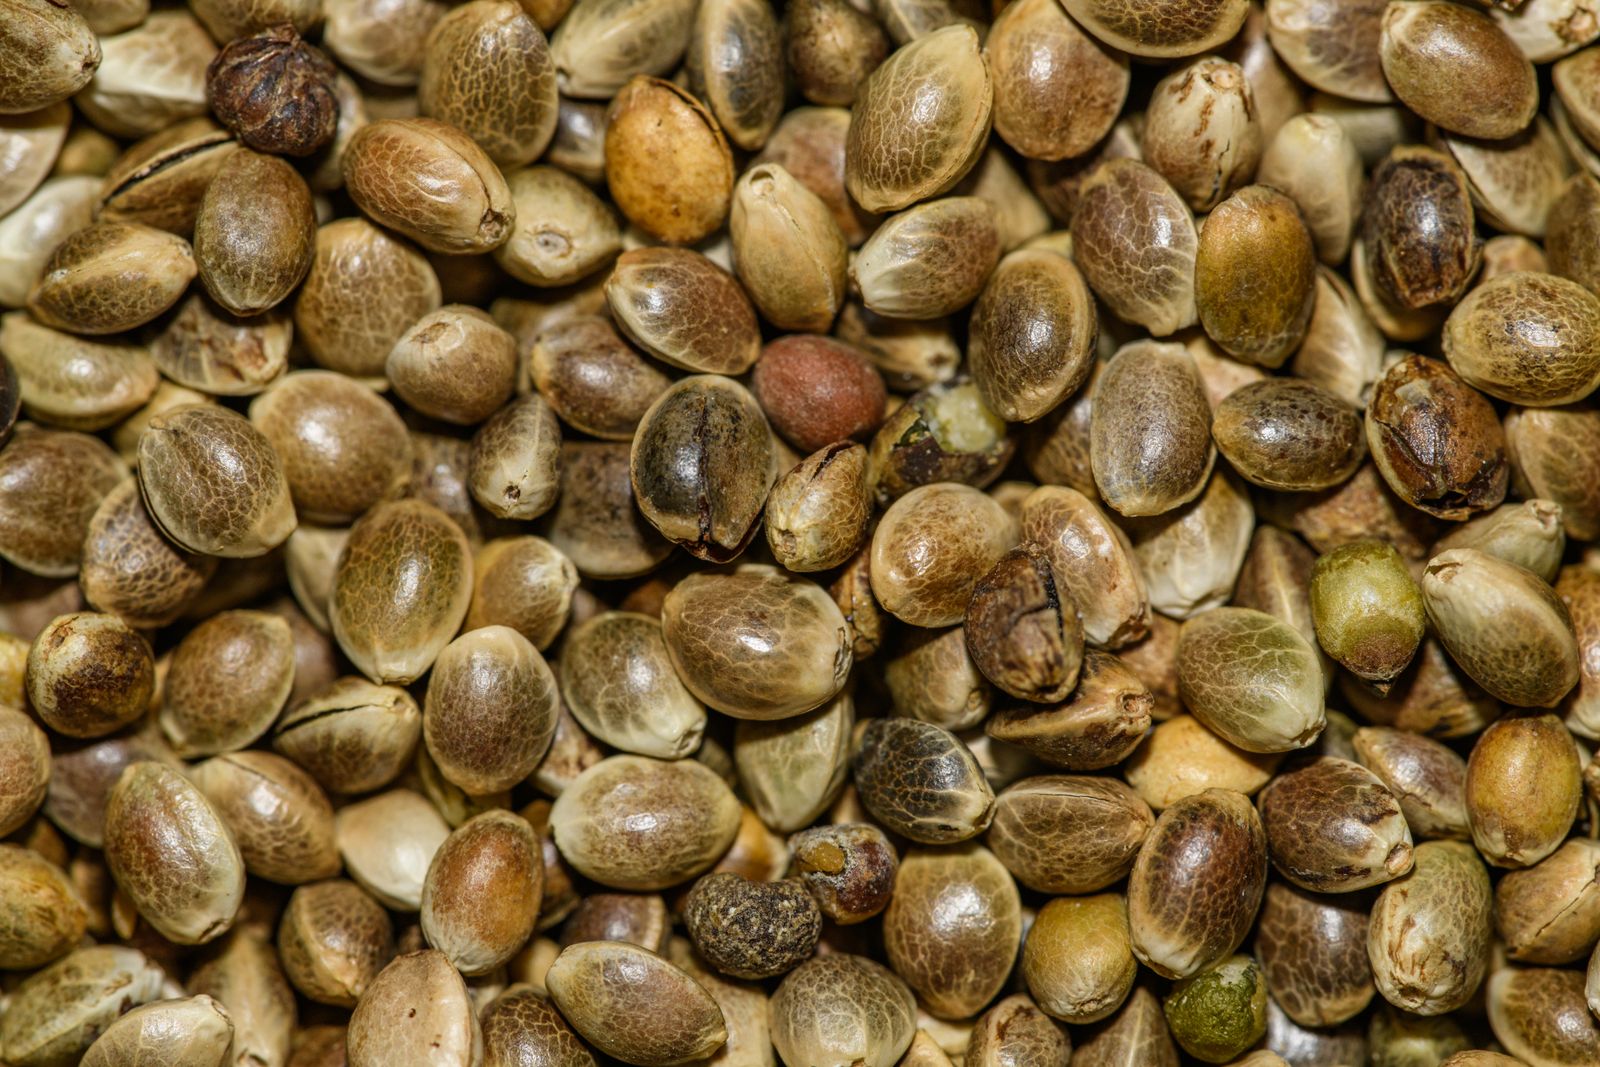
Whatever you choose, inspect your seeds before germinating. Healthy seeds are firm, dark brown or grey-brown, sometimes with tiger-stripe patterning, and resist gentle pressure between fingertips. Pale, green, or hollow seeds that crack easily are unlikely to germinate successfully.
For a deeper look at what's available, the Marijuana Education blog at Pacific Seed Bank covers strain-specific guides worth reading before you commit to a cultivar.
Germination: The Paper Towel Method, Done Properly
Germination is the process by which a dormant seed absorbs moisture, activates its internal chemistry, and pushes out a taproot. It sounds simple — and it is, but the details matter.
The paper towel method remains the most popular approach among home growers because it lets you confirm viability before committing to a growing medium. Here's the process, step by step:
- Dampen two sheets of plain white paper towel with room-temperature water. Damp means moist to the touch — not dripping, not saturated. Squeeze out any excess.
- Place your seeds on one sheet, spacing them at least 2–3 cm apart. Fold the second sheet over the top.
- Slide the towels into a sealed plastic bag or place them between two plates, right side up, to maintain humidity.
- Store the setup in a warm, dark location — the top of a refrigerator, inside a kitchen cabinet near an appliance, or on a seedling heat mat set to 22–25°C. Avoid anything below 20°C; cool temperatures slow germination significantly and increase the risk of mould.
- Check gently once or twice per day by carefully lifting the top towel. Re-dampen if the paper feels dry.
Most quality seeds pop within 24 to 72 hours. Some older or denser seeds may take up to five days. Once you see a white taproot — even just 2–3 mm long, that seed is ready to plant. Do not wait for the root to grow long. A taproot longer than about 1 cm becomes fragile and prone to curling back on itself during transfer, which stresses the emerging seedling before it's even in the ground.
Handle germinated seeds with clean, dry tweezers or very clean fingertips. Touch only the seed casing, never the root itself. Even trace oils from skin can damage that delicate structure.
Transferring Sprouted Seeds into Growing Medium
The moment the taproot appears, you have a narrow window to get that seed into soil or coco coir without causing unnecessary stress. Work deliberately, but don't dawdle.
Container choice: For seedlings, small containers are correct. A 120–180 mL plastic cup with three or four drainage holes punched in the bottom, a 50-cell seedling tray, or a 7–10 cm peat pot all work well. Do not start seeds in a 4-litre pot. Large containers hold excess moisture around the root zone, creating conditions that favour root rot and fungus gnats. The small container dries out at a rate that matches a seedling's modest water uptake.
Growing medium: Use a light, airy seed-starting mix or a quality perlite-amended coco/soil blend. The medium should hold moisture without compacting. At this stage, pre-mixed seedling soils are ideal because they contain minimal nutrients — seedlings cannot process high nutrient concentrations and will show fertiliser burn (bleached or brown leaf tips) if the medium is too rich. Avoid heavy potting soils or compost-heavy mixes for germination.
Planting depth and technique:
- Moisten your medium before filling the container — not soaking wet, just evenly damp.
- Create a small hole 6–12 mm deep using a pencil, chopstick, or your finger.
- Lower the seed into the hole with the taproot pointing downward. The seedling will spend energy correcting a misoriented root, so get it right the first time.
- Cover loosely with medium. Do not pack or press down.
- Mist the surface lightly with a spray bottle — no heavy watering at this stage.
Place a clear humidity dome or inverted plastic bag loosely over each container to retain moisture while the seedling pushes through the soil surface. Most seedlings emerge in two to four days. The moment you see the seed leaves (cotyledons) open, remove the dome and introduce gentle air circulation. A small USB fan on its lowest setting, oscillating a few feet away, is enough.
Caring for Seedlings: Light, Temperature, and Watering
Seedlings are the most vulnerable plants in your grow room. They lack the root mass to buffer environmental swings and the leaf surface area to recover quickly from stress. Consistency is your primary tool.
Lighting is where most beginners make their first mistake — placing the light too far away. Seedlings stretching tall and thin (etiolation) is almost always a light-distance problem, not a genetics problem. Cannabis seedlings need moderate, close light:
- LED panels (full-spectrum, quantum board style): position 30–45 cm above seedlings at 30–40% power for the first week, gradually increasing intensity.
- T5 fluorescent or CFL fixtures: 5–10 cm above the canopy works well without heat stress risk.
- Light schedule: 18 hours on, 6 hours off is the standard for seedlings and vegetative growth under photoperiod strains. Autoflowering varieties can run on 18/6 or even 20/4 from seed.
Temperature and humidity: Seedlings thrive at 22–26°C with relative humidity between 65–70%. At this humidity level and temperature range, vapour pressure deficit (VPD) sits in the 0.4–0.8 kPa range — low enough that seedlings can transpire freely without desiccating. A basic digital hygrometer placed at canopy level costs under $15 CAD and eliminates guesswork entirely.
Watering at the seedling stage requires restraint. Overwatering — which really means watering too frequently rather than using too much volume per session, is the single most common cause of seedling failure. The correct approach is to water lightly when the top centimetre of medium feels dry, then allow the medium to partially dry before watering again. Lift your container after watering and remember the weight. When it feels noticeably lighter, it's time to water again. This method is more reliable than any calendar schedule.
No nutrients for at least the first 10–14 days. Quality seedling mix contains enough buffered nutrition. Introduce a diluted seedling-strength fertiliser (at roughly 25% of the recommended dose, favouring nitrogen with a gentle P-K profile like a 2-1-2 ratio) only after the first true leaf set is fully developed and the plant appears vigorous.
Avoiding the Most Common Seedling Problems
Most seedling problems fall into a handful of repeating patterns. Recognising them early — before they compound, is what separates experienced growers from frustrated ones.
Damping off is the most serious threat at this stage. It's caused by soil-borne fungal pathogens (most commonly Pythium and Fusarium species) that rot the stem at or just below the soil line, causing the seedling to collapse suddenly. Prevention is straightforward:
- Use fresh, sterile growing medium — never reuse old soil from previous grows without sterilising it.
- Maintain good air circulation, even gentle airflow across the canopy.
- Avoid overwatering. Saturated medium is the primary trigger.
- Keep containers and trays clean. A diluted hydrogen peroxide rinse (3% solution) on surfaces before use helps.
Stretching and legginess means the light source is too far away or too weak. Raise the intensity or lower the fixture. If the seedling has already stretched, you can transplant it slightly deeper, burying part of the elongated stem — cannabis stems will root along their length.
Yellowing leaves on seedlings younger than two weeks is usually a watering or drainage issue rather than a nutrient deficiency. Check that drainage holes are clear, let the medium dry slightly, and resist the urge to fertilise. Adding nutrients to a seedling already stressed by poor drainage accelerates decline rather than correcting it.
Leaf curling on young seedlings can indicate heat stress (light too close or ambient temperature too high), overwatering, or low humidity. Work through these variables systematically rather than changing multiple things at once — isolate the cause before intervening.
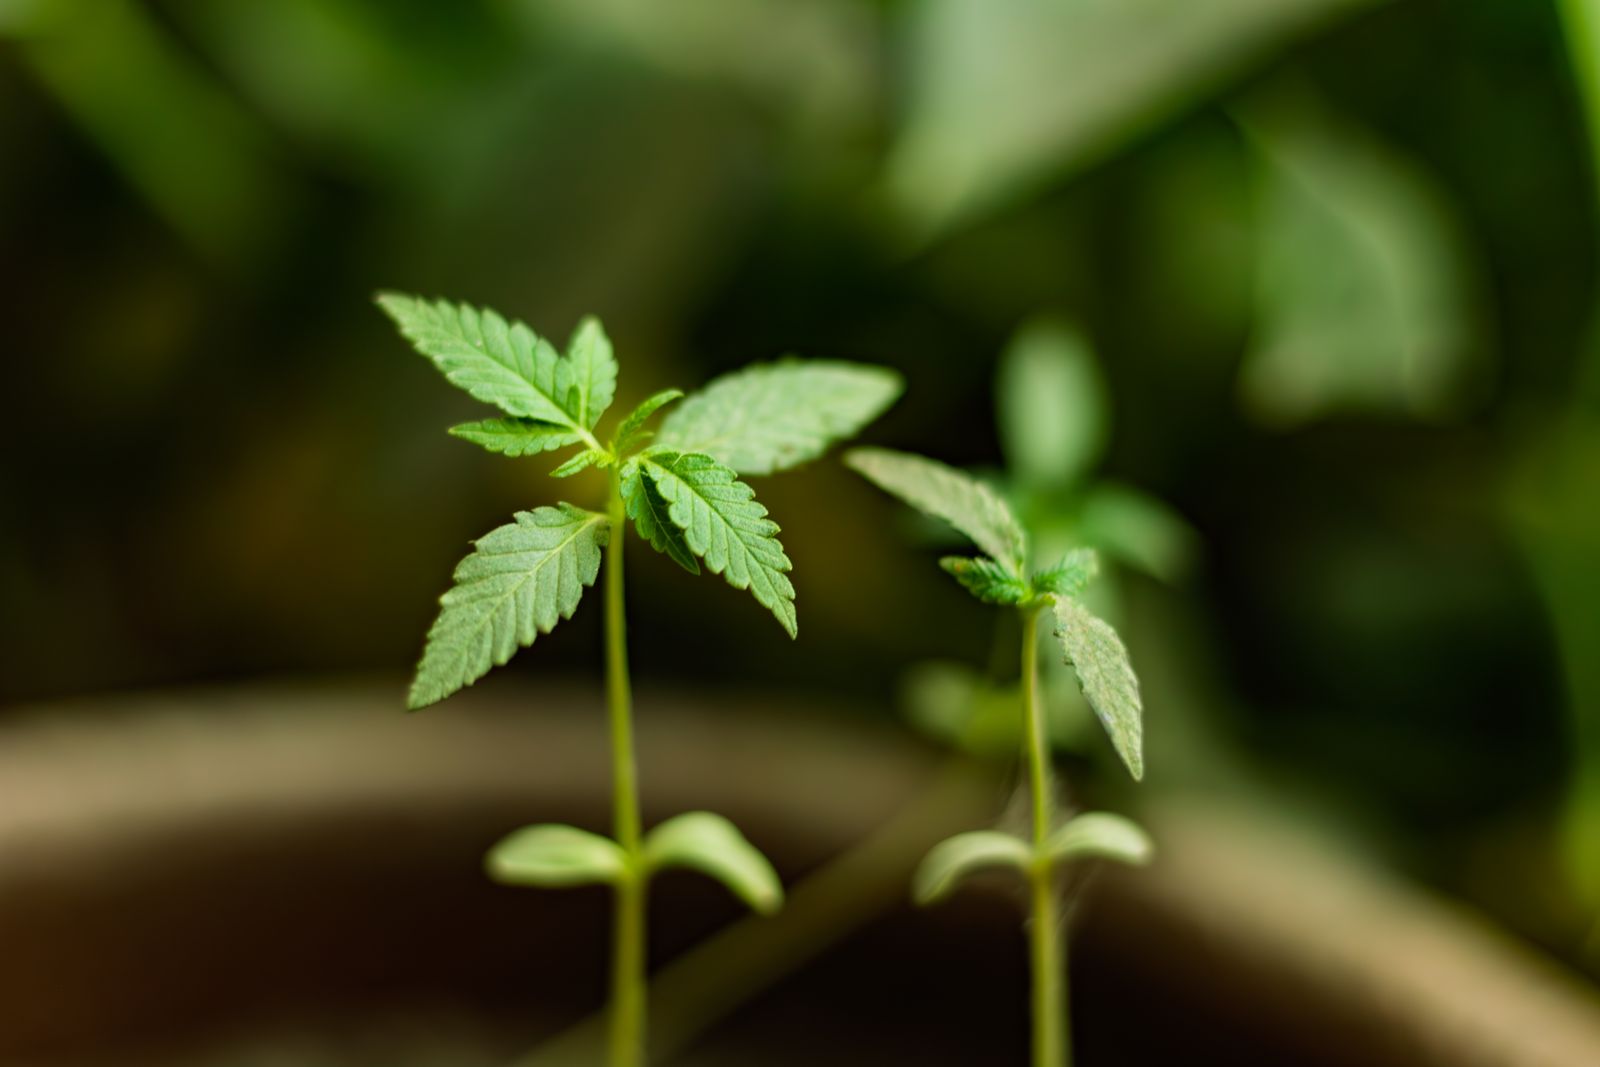
Contrast this with healthy seedling appearance: deep green cotyledons, a short, thick stem with minimal internode spacing, and the first true serrated leaves emerging symmetrically. If your seedlings look like that at day 10, you're doing everything right.
When and How to Transplant Seedlings
After two to three weeks of indoor seedling growth, most plants are ready to move into their permanent or intermediate containers. The visual cues are reliable: true leaves fully developed beyond the second or third set, and roots beginning to circle the bottom of the small container or emerge from drainage holes.
Transplanting is a genuine stress event for the plant. The goal is to minimise disruption to the root ball:
- Water your seedling a few hours before transplanting. Moist medium holds together and comes out as a cohesive plug; dry medium crumbles and exposes roots.
- Prepare your destination container in advance — filled with pre-moistened medium and a depression dug to the size of the incoming root ball.
- Invert the small container gently, supporting the seedling between two fingers (hold the stem loosely or support at the base of leaves — never grip the stem tightly). Tap the bottom to release the root plug.
- Lower the root ball into the prepared depression. The top of the root ball should sit at roughly the same depth as in the original container, unless you're burying an elongated stem.
- Fill in around the sides, tamp very lightly, and water in gently with plain pH-adjusted water (6.0–6.5 for soil; 5.8–6.0 for coco).
After transplanting, maintain the same lighting and temperature as before. Do not immediately change to a new nutrient regime or adjust the light schedule. Give the plant 48–72 hours to settle. A brief slowdown in visible growth immediately post-transplant is normal and expected — the plant is establishing root contact with new medium, not stalling.
Once that recovery period passes and you see new growth resuming, your seedling has graduated. Vegetative growth, training decisions (LST, topping, SCROG), and nutrient escalation all open up from here.
The indoor start is unglamorous work — small containers, modest lights, paper towels, and patience. But those two or three weeks establish everything: root architecture, stem strength, canopy potential, and the plant's baseline resilience. Master this phase and the rest of the grow tends to follow. Your first set of true leaves reaching toward the light isn't just a good sign, it's confirmation that the foundation is sound, and everything that comes next is yours to build on.
Keep Reading
Do Pot Seeds Go Bad? The Real Scoop on Seed Shelf Life
Do pot seeds go bad? Yup. Find out how long cannabis seeds last, how to spot bad ones, and the best storage tricks to keep your seeds viable for years.
Cannabis Terms Explained: Vocabulary For New Growers
Cannabis Seed Storage Tips for Maximum Shelf Life