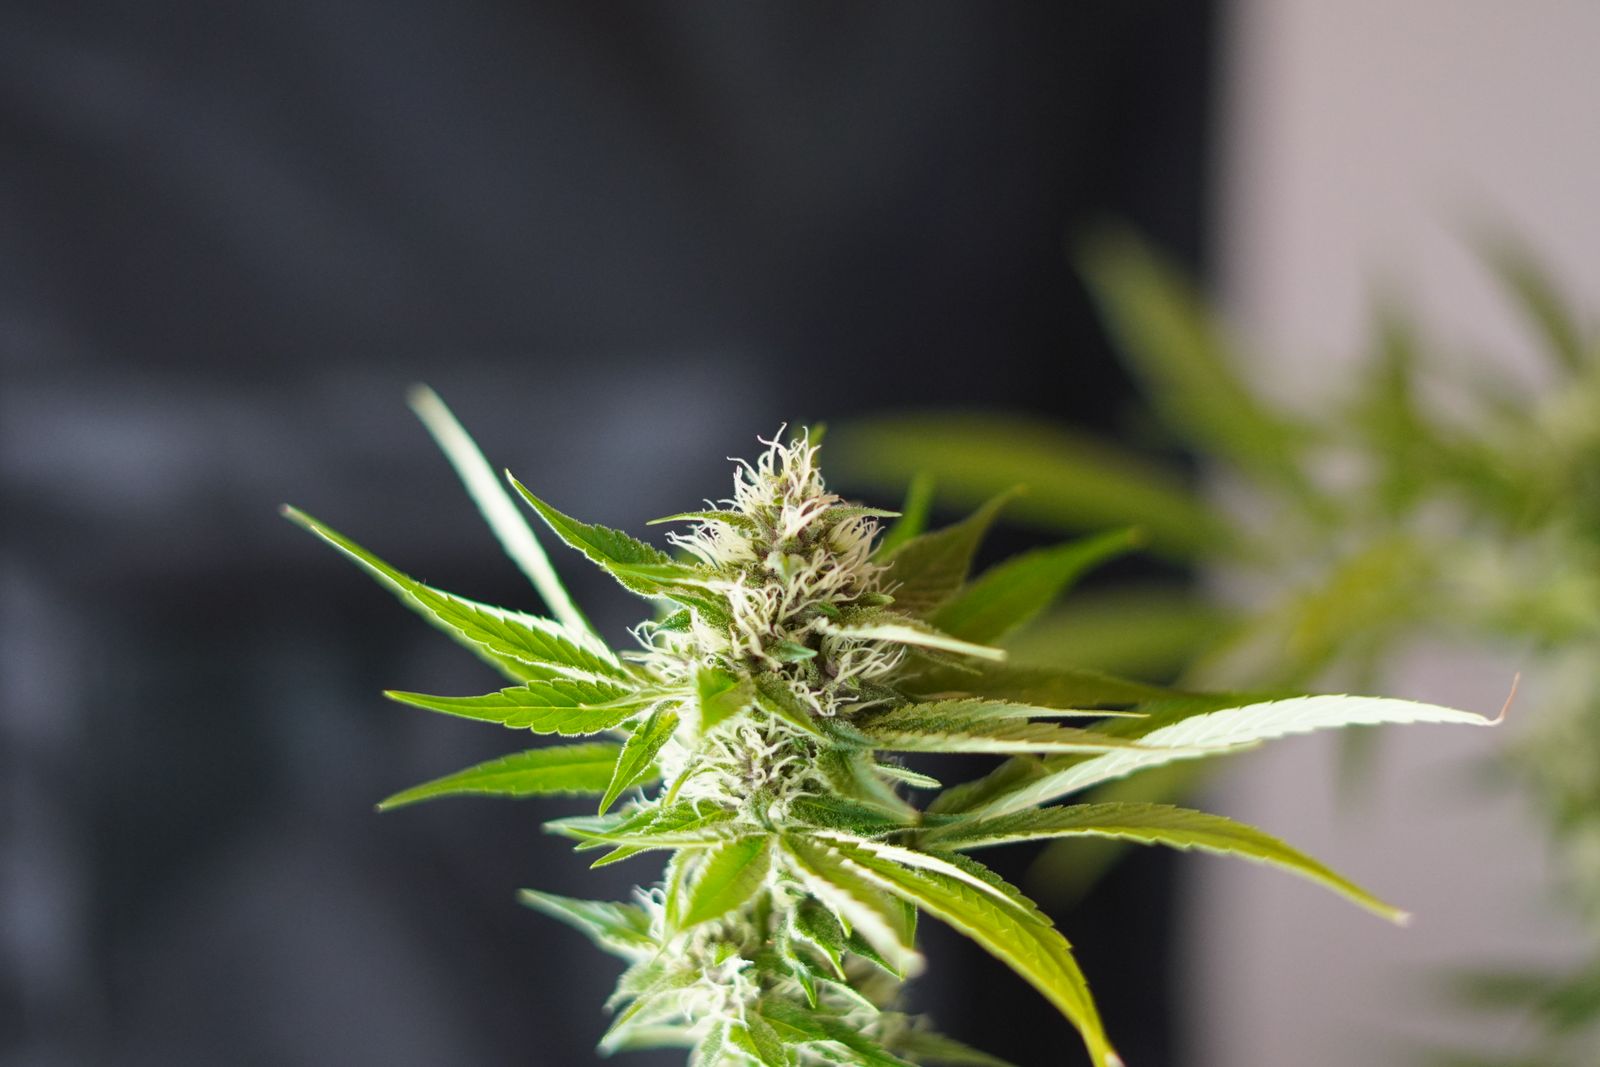
A cannabis seed looks inert — a small, hard shell you could mistake for a speck of gravel, yet inside it holds a complete genetic blueprint, a reserve of lipids and proteins, and a dormant embryo that can remain viable for five years or more under the right conditions. Treat it carelessly for a few weeks and that same seed becomes compost. The difference between those two outcomes has nothing to do with the genetics you paid for and everything to do with what happens between the moment the package arrives and the moment the seed hits soil.
Why Seed Storage Is a Biological Problem, Not a Logistical One
Seeds are not raw materials sitting on a shelf. They are living organisms in a carefully orchestrated state of suspended animation. The embryo inside is metabolising at an extraordinarily slow rate, burning through its internal fuel reserves molecule by molecule. Your job as a grower is to slow that burn to an absolute minimum — and the three variables that govern it are temperature, relative humidity, and light exposure.
Of the three, moisture is the most immediately dangerous.
Humidity above roughly 60% relative humidity (RH) can trigger the seed's hormonal cascade — the same chain reaction that happens when a seed senses it's been buried in moist soil. Once that clock starts ticking in a storage jar, it cannot be reset. The embryo begins consuming its reserves, fungal spores already present on the shell find a hospitable environment, and within days the seed is either pre-germinated and doomed or rotting outright. Conversely, RH below about 20% causes the seed coat to dessicate to the point of brittleness, physically blocking water uptake when you finally do want to germinate. The sweet spot for long-term storage is between 20% and 40% RH, dry enough to hold dormancy, humid enough to preserve cell-wall integrity.
Temperature compounds everything. Heat accelerates every enzymatic reaction inside the seed, including the ones that consume its stored energy. Light triggers photoperiod-sensitive hormonal responses. Together, these three stressors explain why a seed left in a sunny kitchen drawer can lose half its germination rate in a single summer, while the same seed in a cool, dark, sealed jar can still produce vigorous seedlings half a decade later.
Choosing the Right Container
The container is your first and most reliable line of defence. Not all vessels are created equal, and the choice matters more as the intended storage period grows longer.
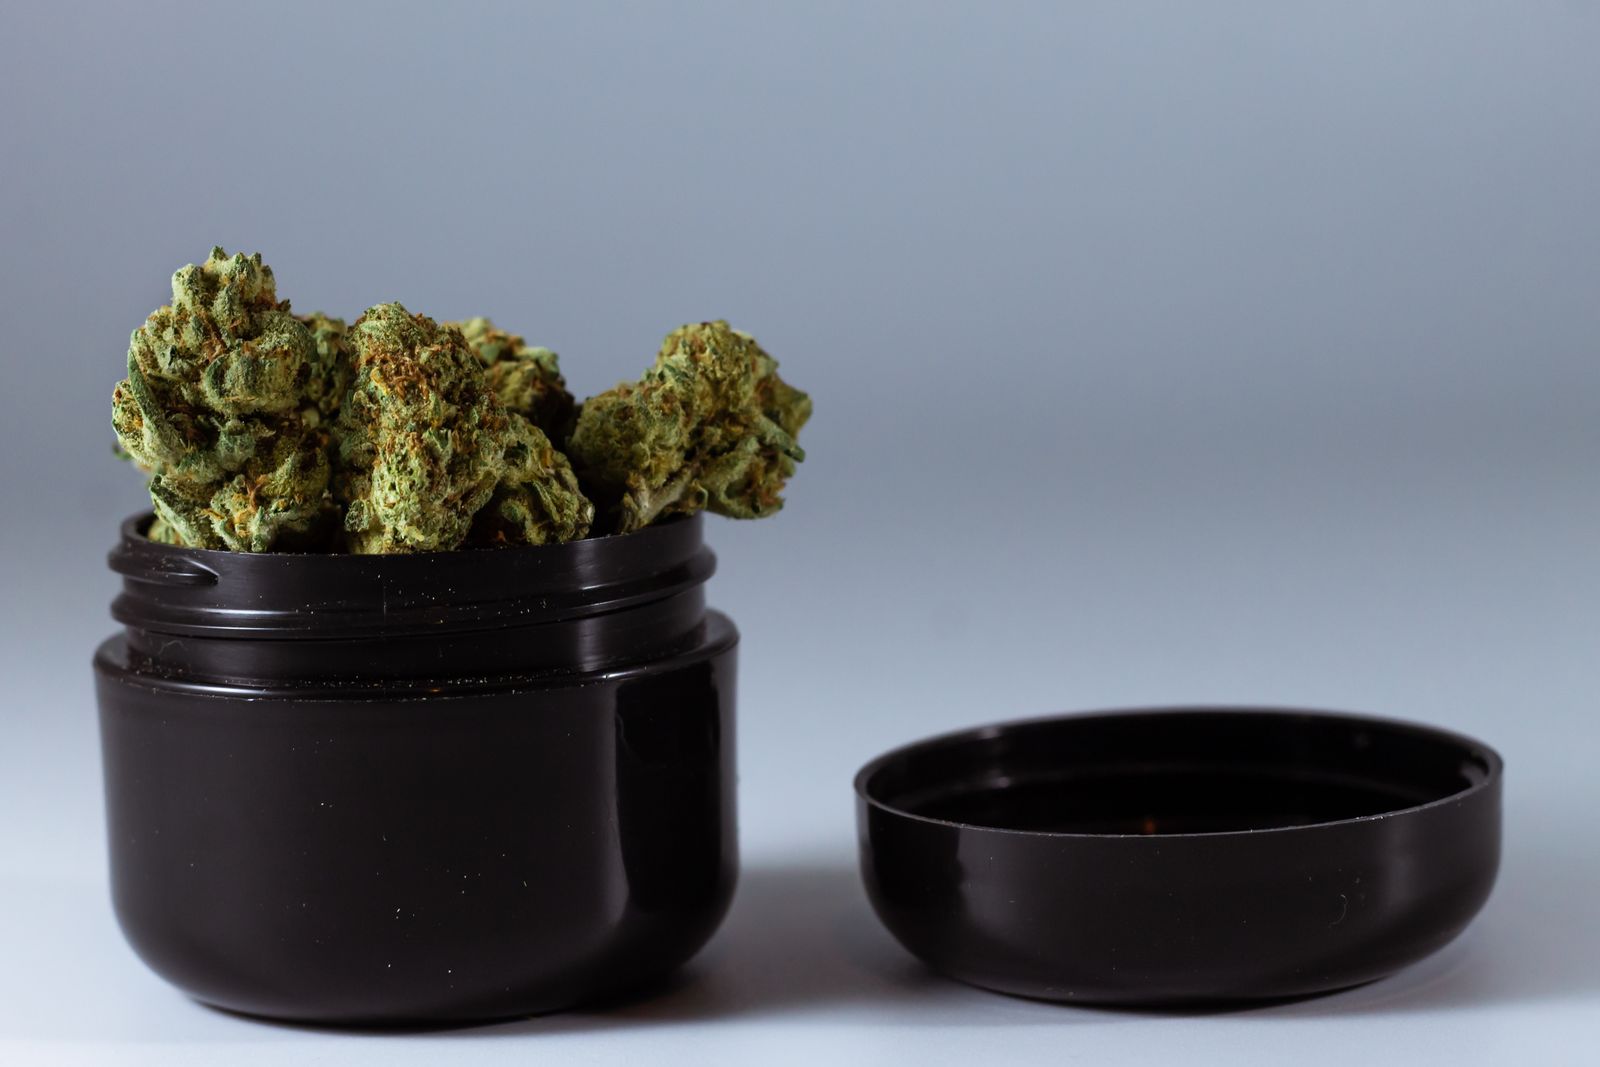
Glass is the gold standard. A borosilicate glass jar with an airtight rubber-seal lid offers almost zero gas permeability, no off-gassing of plasticisers, and a surface that cleans completely without retaining odour or moisture. Mason jars widely available at Canadian hardware and kitchen stores — the same ones used for preserving, are excellent. They're inexpensive, reusable, and easy to label with a strip of masking tape and a marker.
Plastic containers and resealable bags are acceptable for short-term storage (under three months), but over time many plastics allow a slow exchange of atmospheric gases and can absorb trace humidity. If you do use plastic, double-bag: place seeds in a small resealable bag, then seal that inside a larger airtight container.
Inside any container, add a food-grade silica gel desiccant packet to act as an RH buffer. The small two-gram packets used for food preservation are ideal. They're rechargeable — a few hours in a low oven drives off absorbed moisture and restores their capacity. Colour-indicating packets that turn pink when saturated make monitoring effortless.
A few practical organisational points worth following consistently:
- Label every container with the strain name, seed type (Auto or Feminized), date of acquisition, and quantity.
- Store each strain in its own container so you never need to open the full collection to access one variety.
- Keep a simple logbook — even a notes app on your phone — recording the storage date and any germination results over time. This tells you exactly how your storage system is performing.
- Never store seeds near any substance with a strong odour; glass is impermeable but seals aren't perfect, and terpene cross-contamination over years of storage is a real possibility.
Temperature: The Refrigerator vs. the Freezer Debate
The ideal storage temperature for cannabis seeds sits between 2°C and 10°C — the range you'd find in the middle shelf of a household refrigerator. At this temperature, enzymatic activity slows to a crawl, fungal growth is suppressed, and the seed can maintain full viability for two to five years with minimal degradation.
The back of the fridge is better than the door. Door shelves experience a temperature swing of several degrees every time the appliance is opened; the back remains within a fraction of a degree of its set point for hours at a time. That consistency is what you're after.
Freezing is more complicated. In theory, seeds stored at −18°C can remain viable for decades — this is how seed banks like the Svalbard Global Seed Vault preserve hundreds of thousands of plant species. In practice, home freezing is risky for a straightforward reason: ice crystal formation. If any residual moisture remains inside the seed coat when it freezes, the expanding ice ruptures cell membranes and kills the embryo. Commercial seed banks use vacuum-sealed, professionally dried seeds that have been brought to under 5% moisture content before freezing. For the typical Canadian home grower receiving seeds from a seed bank in standard packaging, that level of preparation is difficult to replicate reliably.
Unless you have confirmed that your seeds are professionally dried, vacuum-sealed, and free of all residual moisture, do not freeze them. The refrigerator is the right choice for home storage up to five years.
Room temperature — around 18°C to 22°C, is acceptable for short-term storage of up to three months, provided the environment is stable and dark. Avoid any spot near a heat source, including the top of a refrigerator (which runs warm), near ovens, radiators, or south-facing windows. If you wouldn't age a fine cheese there, don't store your seeds there either.
Short-Term vs. Long-Term Storage: A Practical Comparison
The right storage protocol depends on how long you intend to hold your seeds. These two approaches are not interchangeable.
Short-term storage (up to six months) is relatively forgiving. A cool, dark closet — a basement linen cupboard in a Canadian winter, for instance, can maintain stable temperatures well below 20°C naturally. A sealed glass jar with a desiccant packet inside an opaque box or drawer is all you need. Keep the container away from exterior walls that might experience freeze-thaw cycling.
Long-term storage (one year and beyond) demands a more disciplined approach. The margin for error shrinks as time passes because small insults compound. A 2% degradation in germination rate per month sounds minor — until you've stored seeds for three years and find yourself with 30% viability instead of 90%.
For long-term storage, follow this sequence:
- Place seeds in a small resealable bag with all excess air pressed out.
- Add a fresh desiccant packet directly into the bag.
- Seal the bag inside a glass jar with a rubber-gasket lid.
- Label the jar clearly with strain, type, date, and quantity.
- Place the jar inside an opaque container (a cardboard box, a tin, or a dark fabric pouch).
- Store that container in the back of a refrigerator set between 2°C and 6°C.
- Check the desiccant packet every three to four months; recharge or replace if saturated.
- Inspect for condensation on the jar interior each time you check — condensation signals a humidity problem that needs addressing immediately.
Vacuum-sealing is worth considering for collections exceeding 50 seeds stored for more than a year. Removing oxygen from the equation slows oxidative degradation of the seed's lipid reserves — the same principle behind vacuum-packed coffee. A basic household vacuum sealer is sufficient and widely available across Canada for under $60 CAD.
Keeping Light Out
Light is the simplest variable to control, yet it's frequently overlooked.
Phytochrome — the light-sensitive pigment system present in seeds, begins responding to red and far-red wavelengths long before a seed is formally germinating. Chronic low-level light exposure during storage doesn't immediately destroy a seed, but it steadily erodes dormancy, nudging the embryo's hormonal system toward germination readiness. In practice this means seeds stored in clear jars on a bright shelf are aging faster than they need to, even at cool temperatures.
The fix is effortless. If your storage vessel is transparent, place it inside something opaque. An old shoebox lined with a zip-lock bag works. A dark-coloured tin works. A kitchen cupboard away from a window works. The goal is to replicate what a seed experiences in nature: buried centimetres below the soil surface, in complete darkness, cool, and still.
Amber glass jars offer a marginal advantage over clear glass by filtering some wavelengths, but any opaque outer container makes the jar colour irrelevant. Spend the money on fresh desiccant packets rather than specialty glass.
How to Assess Seed Health Before You Germinate
Even with perfect storage, seeds age. Knowing how to read a seed's condition before committing it to a grow medium saves time and substrate.
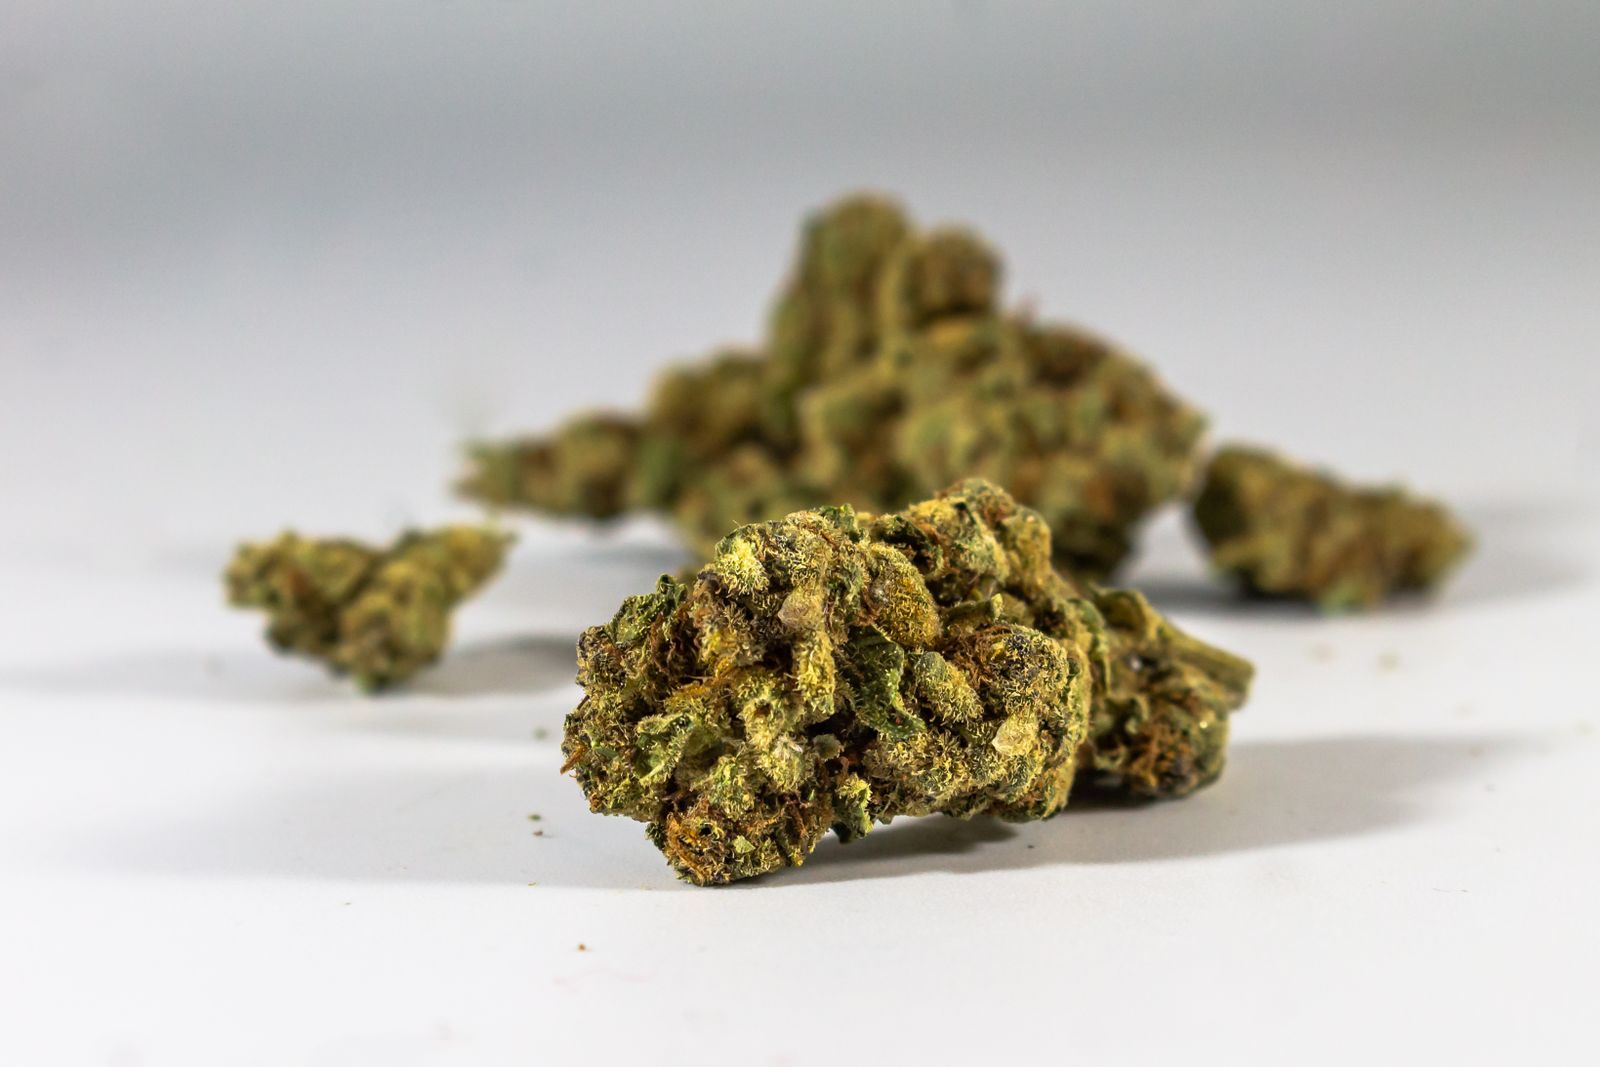
Visual inspection is your first tool. A healthy seed is firm to light pressure between fingertips, dark in colour (ranging from light grey-brown to deep almost-black, often with a tiger-stripe or marbled pattern), and has a slightly waxy, smooth surface. Pale seeds — cream or off-white, are typically immature. Cracked or pitted shells, soft spots, or a powdery residue on the surface all indicate compromised viability.
The float test is widely used but imperfect. Place a seed in a small glass of room-temperature water for 60 to 90 minutes. Seeds that sink to the bottom are typically dense and viable; seeds that float after 90 minutes are more likely hollow or dead. The caveat: some perfectly viable seeds float initially because of trapped air in the seed coat and only sink once that air has had time to escape. Use the float test as a tiebreaker, not a definitive verdict.
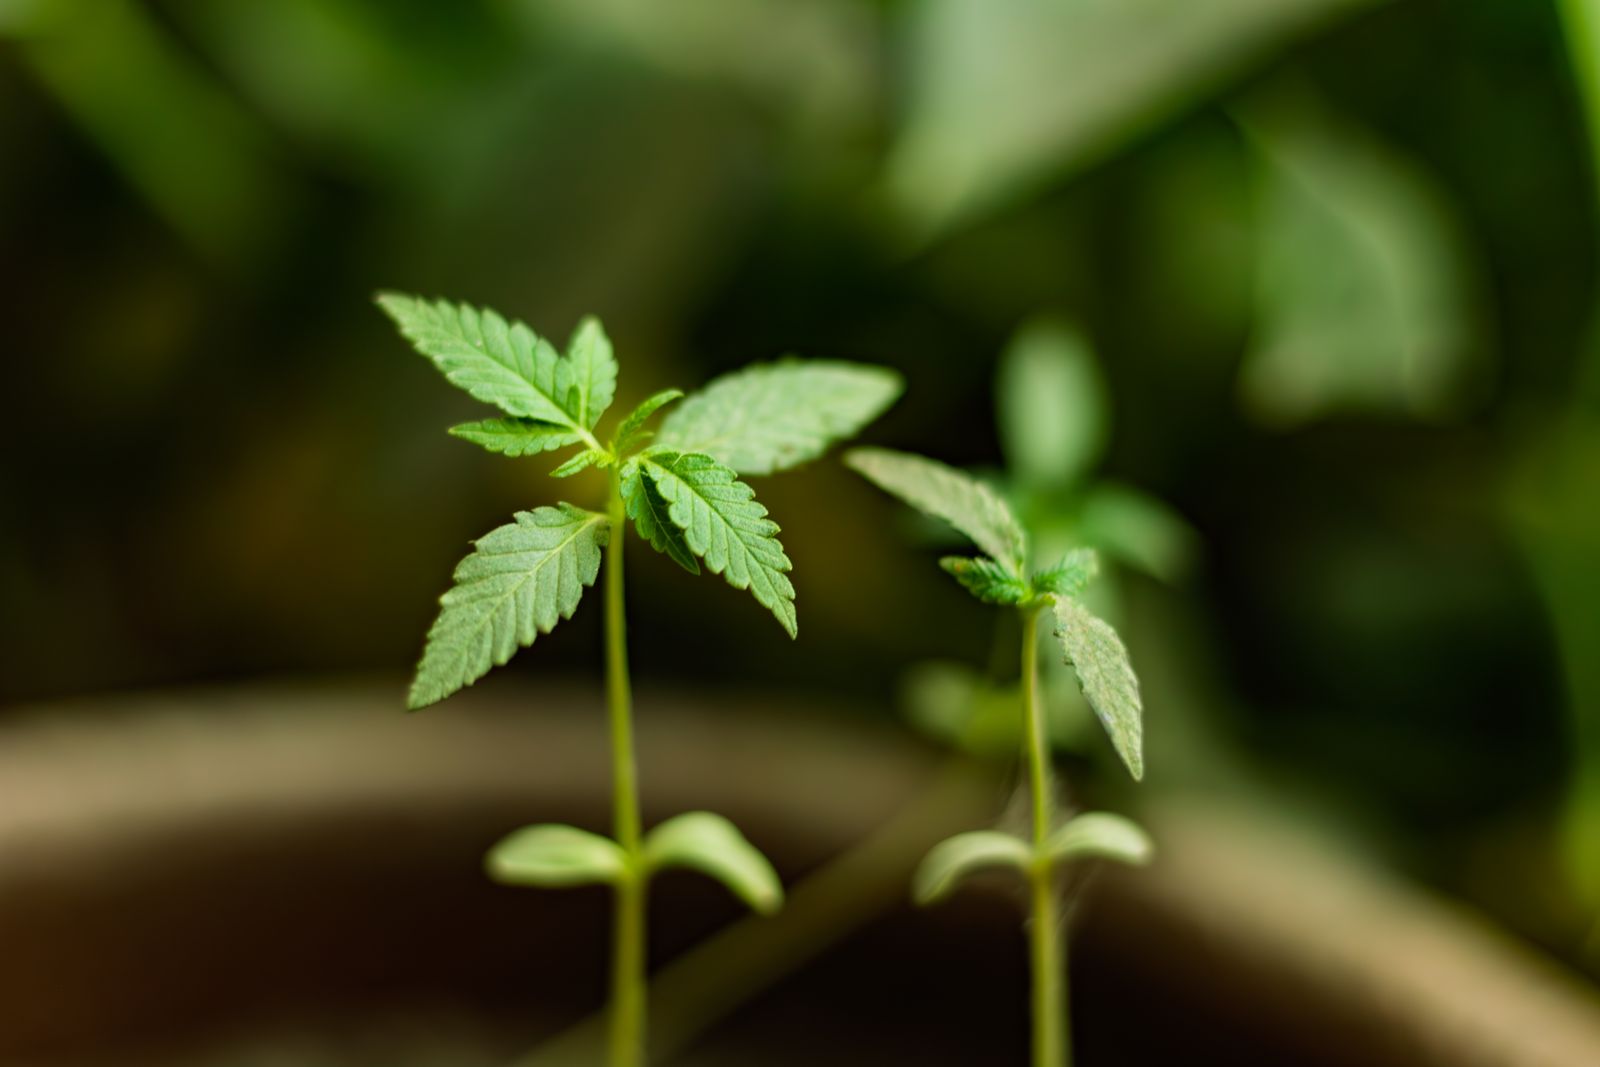
The most reliable test, when you have seeds to spare, is simply germinating one or two as a viability check before committing your full grow space. The paper-towel method — seeds sandwiched between damp (not saturated) paper towels, kept at 22°C to 26°C, typically produces a radicle in 24 to 72 hours for healthy seeds. If nothing emerges in five days, storage may have compromised the batch.
Common Mistakes and How to Avoid Them
Most storage failures trace back to a handful of predictable errors. Recognising them before they happen is far easier than recovering from them afterward.
- Leaving seeds in original packaging long-term. Seed bank envelopes and blister packs are designed for shipping, not multi-year storage. They offer minimal moisture protection and zero desiccant capacity. Transfer seeds to a proper airtight glass container within days of receiving them if you don't plan to germinate immediately.
- Freezing seeds without confirming dryness first. Moisture inside the shell expands on freezing and ruptures the embryo's cell membranes. If you're committed to freezing, use a desiccant to bring the storage environment to below 25% RH for at least 48 hours before sealing and freezing.
- Storing in convenient but unstable spots. Kitchen drawers experience heat from the oven. Glove compartments in Canadian winters can swing from −30°C to +30°C on a single day. Garage shelves are subject to both extremes. Choose stable over convenient, every time.
- Opening the container too frequently. Every time a jar is opened, ambient air — with its associated humidity and temperature — enters. If you're storing multiple strains, use separate jars so you only disturb the specific seeds you need.
- Skipping the label. After six months in the back of a fridge, five similar-looking jars are indistinguishable without clear markings. Write strain name, type, acquisition date, and seed count on every container without exception.
Putting It All Together
Proper cannabis seed storage requires no expensive equipment, no specialised training, and no significant investment of time. It requires only consistency and an understanding of what seeds actually need: cool temperatures between 2°C and 10°C, relative humidity held between 20% and 40%, complete darkness, and minimal air disturbance.
A sealed glass jar, a desiccant packet, and the back shelf of your refrigerator will protect most seed collections for two to five years with germination rates that remain comfortably above 80%. Push further — vacuum-sealing, careful pre-freeze drying, meticulous temperature logging, and the same seeds can outlast most grow plans by years.
Whether you're holding a single strain back for a future outdoor season or building a broader collection, the principles are identical. For growers looking to deepen their cultivation knowledge beyond storage, the Marjiuana Education section at Pacific Seed Bank covers the full spectrum of growing technique, from seed selection through to harvest and cure.
Store well today, and when the time comes to germinate — whether that's next spring or three years from now, your seeds will be exactly as ready as the day they arrived.
Keep Reading
Do Pot Seeds Go Bad? The Real Scoop on Seed Shelf Life
Do pot seeds go bad? Yup. Find out how long cannabis seeds last, how to spot bad ones, and the best storage tricks to keep your seeds viable for years.
Cannabis Terms Explained: Vocabulary For New Growers
Cannabis Seed Storage Tips for Maximum Shelf Life