How Long Do Cannabis Seeds Last?
9 min read · , updated May 14, 2026
A properly stored cannabis seed can outlast a poorly stored harvest by a decade. That's not a marketing claim — it's biology. The embryo inside a cannabis seed is metabolically dormant, and as long as the three enemies of viability (light, heat, and moisture) are kept at bay, that embryo can remain ready to spring to life years after it left the plant. Understanding exactly why those enemies are so destructive, and how to neutralise each one, is the difference between a seed vault and a jar of expensive gravel.
How Long Cannabis Seeds Actually Last
The honest answer is: it depends entirely on how they're stored, and it spans a surprisingly wide range.
Seeds purchased from Pacific Seed Bank Canada arrive in sealed, purpose-built packaging designed to hold moisture out and darkness in. Kept in that original packaging, tucked away in a cool, dark drawer or cupboard, those seeds will remain viable for up to a year without any special intervention on your part. That's the baseline — zero effort, reasonable outcome.
Push your storage conditions toward the ideal, however, and the timeline expands dramatically. With controlled temperature, light exclusion, and low relative humidity, properly dried seeds can remain germinable for five years or more. Anecdotal reports from experienced breeders — and a body of seed-bank research, consistently show germination rates above 50% from seeds stored under optimal conditions for seven to ten years. A decade-old seed producing a healthy seedling is unusual, but it is not fiction.
The inverse is equally true. A seed left in a warm, bright windowsill for a single summer can be dead before autumn. Heat accelerates the oxidation of lipid reserves inside the embryo; light triggers premature hormonal signalling; moisture activates enzymes that begin consuming the seed's stored energy. Once that energy is spent without a root in the ground to show for it, the seed is finished.
The Quality of the Seed You Start With
Storage buys time — it does not manufacture quality that was never there.
The quality of the cannabis seeds you purchase or produce sets the ceiling on everything that follows: germination rate, vigour of the seedling, phenotype expression, and ultimately the cannabinoid and terpene profile in your finished flower. A seed of marginal quality stored flawlessly will still underperform a premium seed stored casually. Start with genetics that have been stabilised, properly harvested, and correctly dried — and then apply everything below.
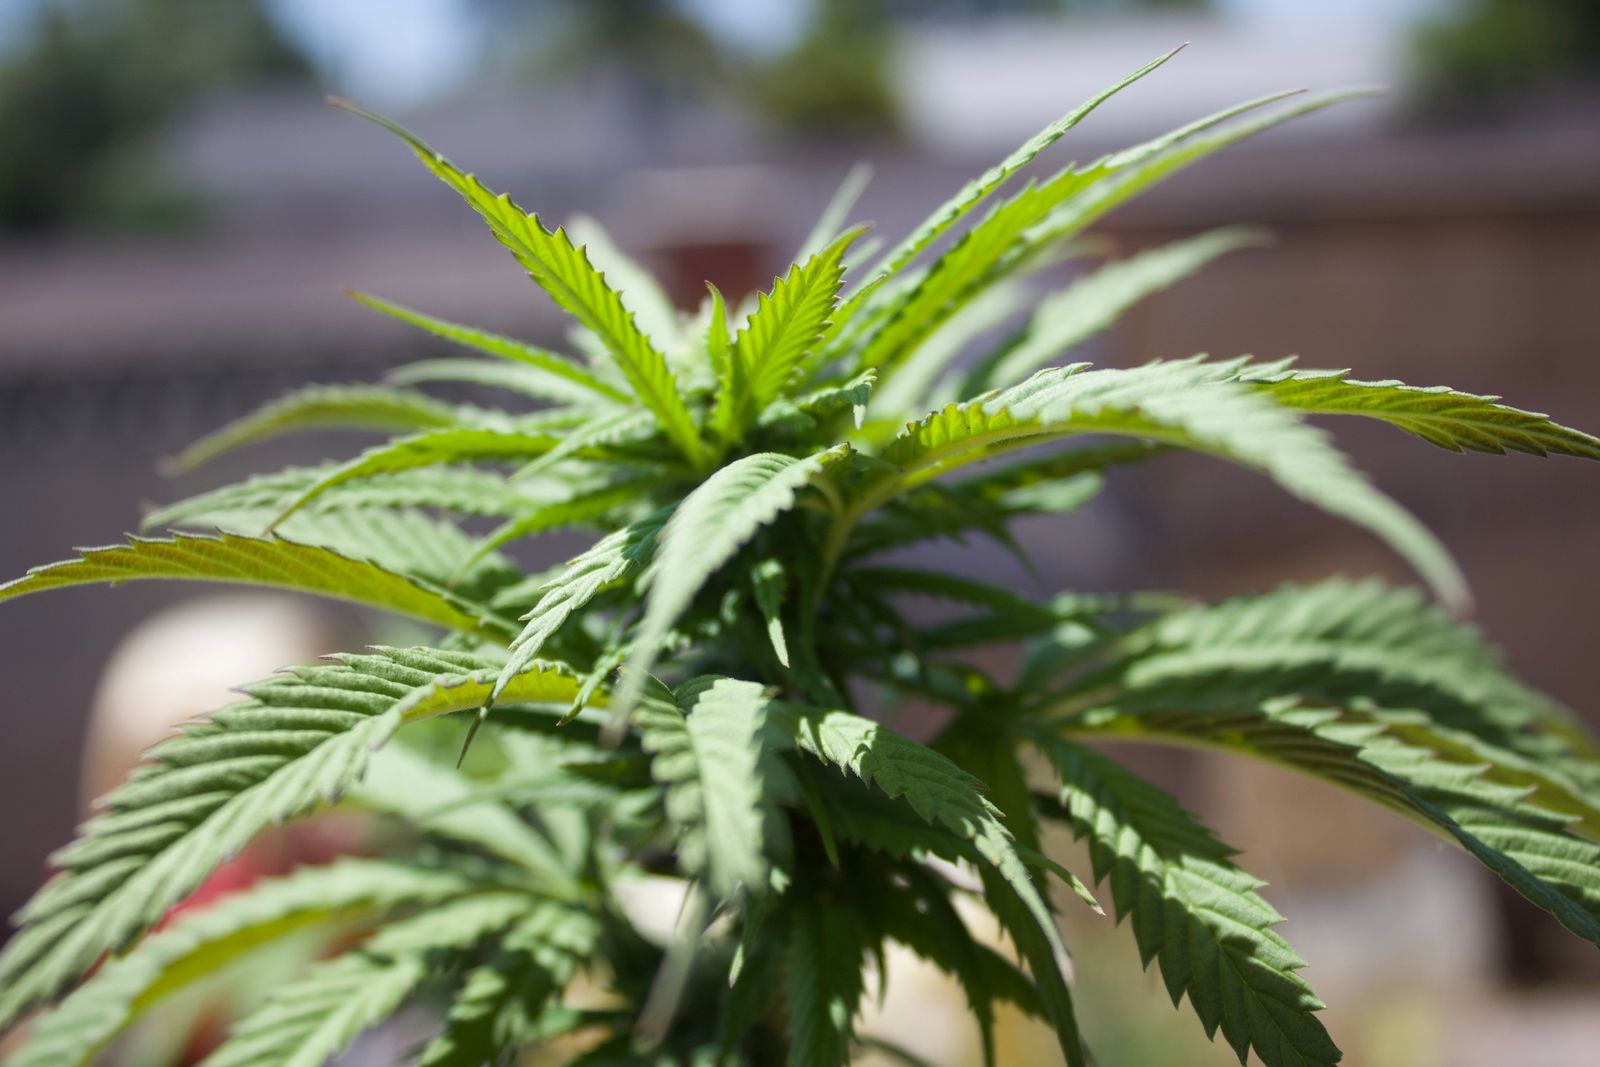
Visual cues matter at the point of purchase. Healthy seeds are:
- Dark brown to grey-brown in base colour, often with a tiger-stripe or mottled pattern
- Waxy and smooth to the touch, with a slight sheen
- Hard under gentle pressure between two fingers — they should not crumble or crack
- Symmetrically teardrop-shaped, with a clearly defined ridge along one side
- Free of cracks, pale green or white colouring, or a soft, hollow feel
Pale green or white seeds are immature — they were harvested before the embryo had fully developed and will almost never germinate successfully regardless of how well you store them. That condition cannot be reversed.
Harvesting and Drying Your Own Seeds
If you're producing seeds yourself — crossing two plants to preserve a favourite phenotype, for instance, the viability clock starts ticking the moment the seed detaches from the plant, and the first hours are critical.
Feminised cannabis plants can produce hundreds of seeds per plant under full pollination, with large-flowered strains capable of holding even greater numbers per cola. Once you've intentionally pollinated a female plant, you'll wait roughly four to six weeks before the seeds are mature. The visual cue is definitive: the calyx surrounding each seed will split and the seed will push outward, and the seed coat itself will have shifted from pale green or white to a dark brown or grey-brown, often displaying those characteristic darker stripes or mottling.
At that point, you have two practical approaches to drying:
- Harvest the whole flower and dry intact. This is the simpler method for most home growers. Hang or rack the harvested material in a cool, dark space with good airflow at 18–21°C and 45–55% relative humidity for seven to fourteen days. Once the flowers are dry, the seeds pop free easily when the calyx is broken open between your fingers.
- Extract seeds immediately and dry separately. This gives you more precise control over drying conditions and reduces the risk of mould affecting the seeds if your drying environment is less than perfect. Lay seeds in a single layer on a ceramic plate or mesh screen, away from direct light, at room temperature, for five to seven days until they pass the finger-pressure test: firm, not soft or damp.
Rushing this stage is one of the most common errors home growers make. Seeds that are stored before they have fully dried will have residual moisture in the embryo — and that moisture will become the enemy the moment you seal them in a container.
The Three Environmental Enemies: Light, Temperature, and Humidity
Seed storage is really just a three-variable optimisation problem. Solve for all three simultaneously and your seeds will outlast your expectations.
Light
Light exposure — even indirect, ambient light, triggers photochemical reactions in the seed's outer coat and can stimulate premature hormonal activity in the embryo. Over time, this drains viability without you ever seeing a sprout. Your storage container must be fully opaque. Dark amber glass jars, black film canisters, or the original sealed packaging from a reputable seed bank all qualify. A clear glass mason jar in a kitchen cupboard does not, every time that door opens, the seeds receive a light pulse.
Keep the container inside an opaque outer box or bag for redundancy, especially if you're storing seeds long-term.
Temperature
For long-term storage, the target range is 6–8°C. That's the low end of a standard refrigerator, and it's cold enough to meaningfully slow cellular metabolism without risking freeze damage. Stability matters as much as the temperature itself — repeated swings between warm and cool as a fridge door opens and closes throughout the day can cause microenvironments of condensation to form inside a container, introducing moisture even when you thought you'd sealed it out.
If you're storing a significant collection of seeds — say, more than a dozen strains across multiple grow seasons, a dedicated mini-fridge set to 6°C and opened as infrequently as possible is worth the modest investment. Alternatively, a cool basement or unheated room that holds a stable 10–15°C year-round will serve reasonably well for medium-term storage of one to three years.
Never store seeds in a freezer unless you are certain they are bone-dry and vacuum-sealed. Residual moisture will expand upon freezing and can rupture cell walls inside the embryo. Freezer storage done correctly can preserve seeds for decades; done carelessly, it destroys them faster than a warm shelf would.
Humidity
Relative humidity inside your seed container should sit between 20–30% RH. Below 8% RH, the seeds themselves can become desiccated and brittle, damaging the embryo. Above 40–50% RH, you risk triggering premature germination activity and encouraging mould growth on the seed coat.
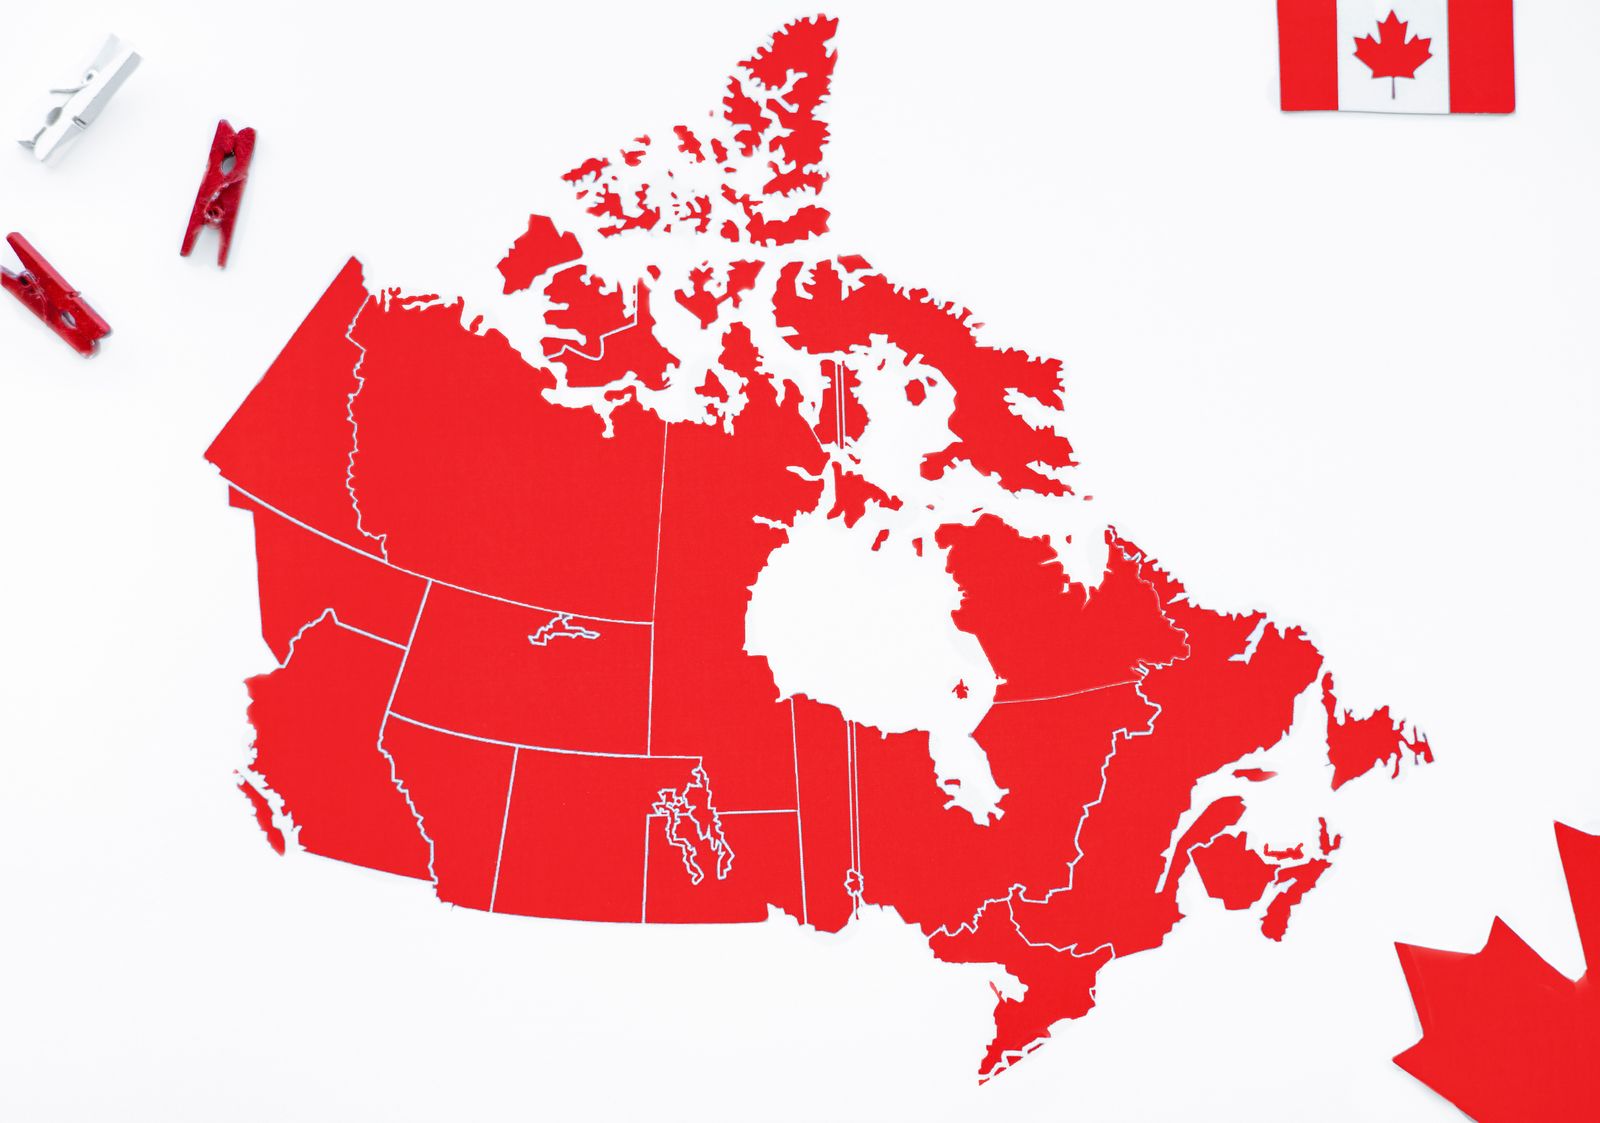
In much of Canada, indoor humidity — particularly in winter when heating systems run constantly, tends toward the lower end, which is actually favourable for seed storage. During humid summer months in coastal British Columbia, Ontario, or the Maritimes, you'll want to take active precautions. The most effective tool is a food-grade silica gel packet placed inside your storage container. These are widely available, inexpensive, and can be recharged by drying them in a low oven (around 120°C for one to two hours) when they become saturated.
Small digital hygrometers designed for cigar humidors fit inside most storage containers and give you a real-time RH reading — a worthwhile purchase if you're serious about multi-year storage.
Practical Storage Setups: A Comparison
Not every grower has the same needs or the same seed inventory. Here's how the main approaches compare:
Original sealed packaging in a dark cupboard — the simplest option and entirely adequate for seeds you plan to germinate within twelve months. No extra equipment required. Suitable for most hobbyist growers working through a single season's worth of seeds. The limitation is that you're depending entirely on the packaging holding its integrity, and room-temperature storage accelerates degradation compared to cooler options.
Dark glass jar with silica gel in a dedicated mini-fridge — the gold standard for home storage. Cost is low (a quality mini-fridge runs CAD $80–$150; jars and silica gel, another $20). Seeds stored this way under consistent 6–8°C and 20–30% RH can realistically be expected to maintain germination rates above 80% for three to five years, and often beyond. This is the right setup for growers who purchase seeds across multiple strains and rotate them over several grows.
Vacuum-sealed, with oxygen absorbers, in a freezer — appropriate for true long-term archiving of seeds you may not use for five-plus years. Requires a vacuum sealer, oxygen absorbers, and the discipline to fully dry seeds before sealing. Done correctly, this can preserve viability for a decade or more. Done incorrectly, with any residual moisture, the seeds may be unviable when you eventually open the package.
Reviving Older Seeds: What to Expect
If you're pulling out seeds that have been in storage for two, three, or more years, manage your expectations carefully — but don't despair. Even seeds that have been stored well will show some natural decline in germination rate over time. A fresh seed might germinate at 95%+ success; a five-year-old seed stored correctly might germinate at 60–70%; a decade-old seed, even from ideal storage, might come in at 30–50%.
A few techniques can improve your odds with older seeds:
- Scarification: Very lightly scuff the seed coat with fine-grit sandpaper (400–600 grit) along the ridge. This helps water penetrate the outer coat, which can harden and become less permeable with age.
- Hydrogen peroxide soak: A 30-minute soak in a 3% hydrogen peroxide solution before germination helps soften the seed coat and has mild antifungal properties.
- Warm water soak: 18–24 hours in distilled water at 22°C before transferring to your germination medium (damp paper towel between plates, in a warm dark location) can reinvigorate dormant embryos.
- Patience: Older seeds may take five to ten days to show a taproot, compared to two to three days for fresh seeds. Don't discard them prematurely.
The question of how to use seeds you've been storing — whether in a classic grow or in something like a home infusion, is worth exploring further. Understanding how pot seeds will last at home before they're needed is part of planning the full lifecycle of your cannabis, from storage to cultivation to final product.
The Bottom Line on Seed Longevity
Cannabis seeds are remarkably resilient when treated with respect, and surprisingly fragile when ignored. A seed in its original sealed packaging, stored in a cool dark space, is good for a year. That same seed, transferred to a dark glass jar with silica gel and kept at 6–8°C in a dedicated fridge, can remain viable for five years or more. The biology hasn't changed — only the environment you've provided.
For everything else worth knowing about growing, strains, and cannabis cultivation in Canada, the Marijuana Facts section at Pacific Seed Bank Canada is an ongoing resource built by growers, for growers. Start with the best genetics, store them properly, and when the time comes to put seed to soil, you'll know exactly what you're working with.