How to Germinate Your Cannabis Seeds
8 min read · , updated May 14, 2026
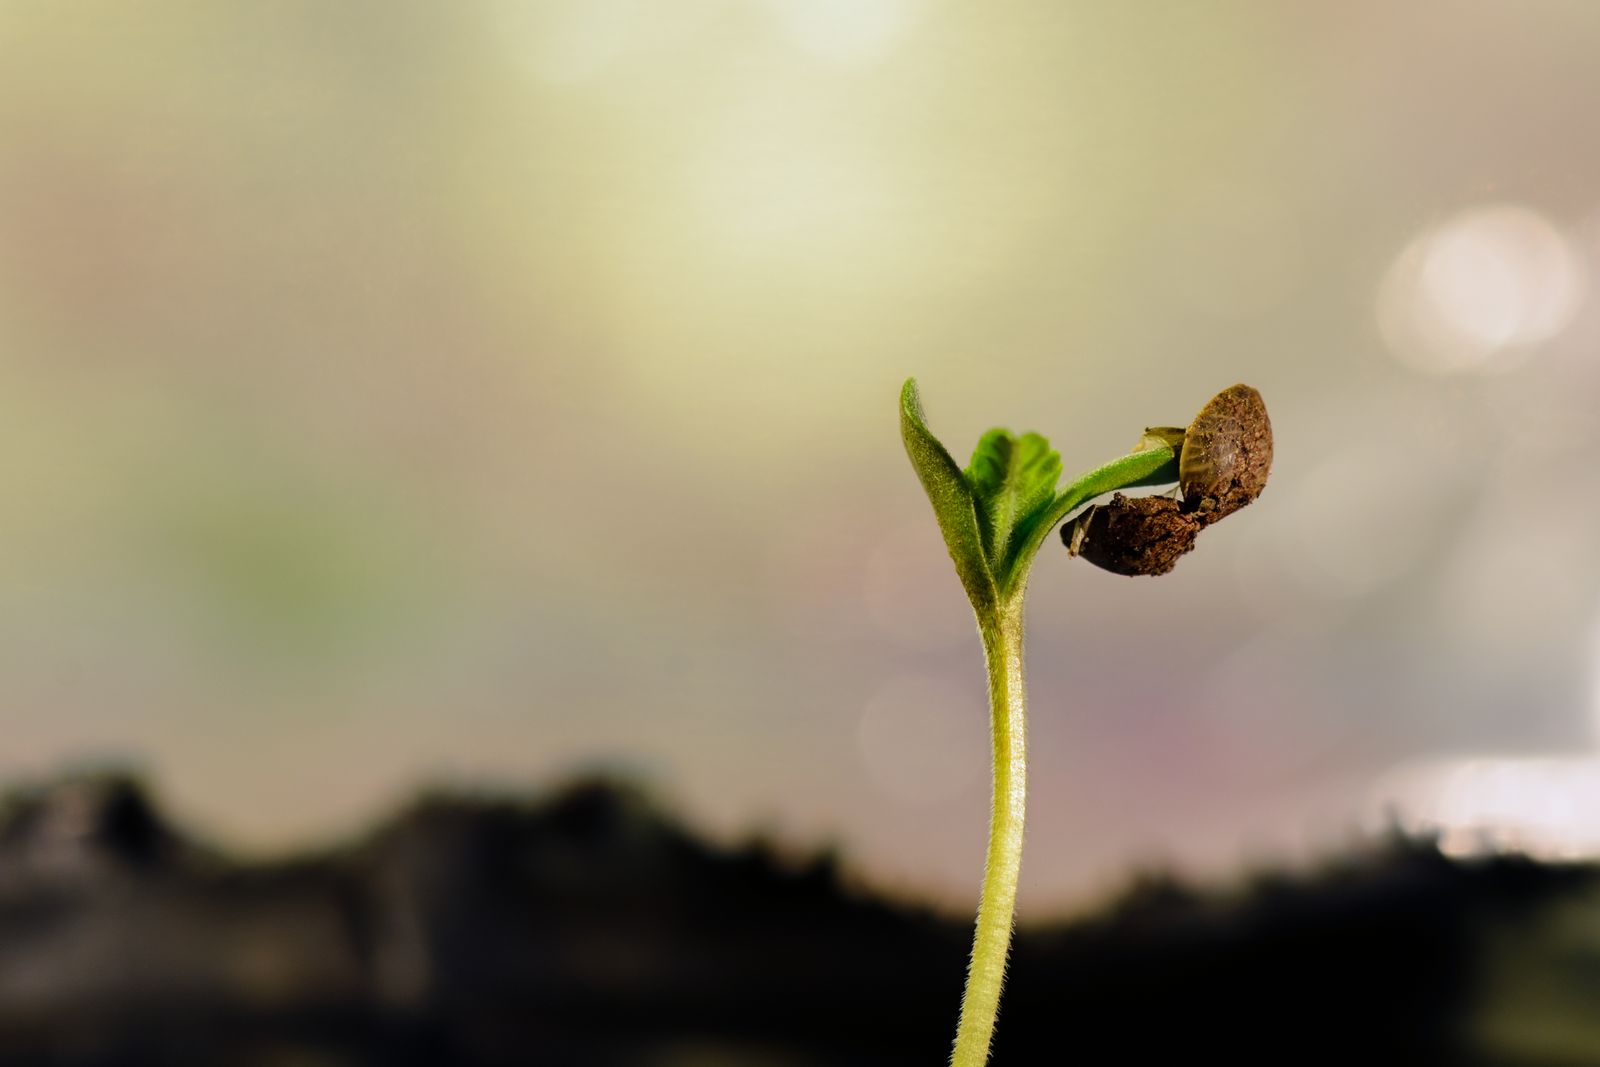
A single seed, no larger than a match head, contains everything required to produce a plant that can yield over 500 grams under the right conditions. Before any of that happens, though, you need to coax that seed awake — and germination is where every successful Canadian home grow begins.
Germination is the biological moment when a dormant seed absorbs moisture, splits its outer shell, and sends out its first root: the taproot. Get this stage right and you set the genetic potential of your chosen strain free. Rush it, neglect moisture management, or expose seeds to light too early, and you risk stunted seedlings, damping off, or complete failure before your grow has even started. The good news? The process is straightforward when you understand the mechanics behind it.
At Pacific Seed Bank, germination is the foundation of everything we teach new and experienced cultivators alike. We've put together a detailed guide on the subject for those who want the full technical deep-dive — but what follows gives you the essential knowledge to pop your seeds with confidence, right now.
Why Germination Deserves More Respect Than It Gets
Most beginner growers treat germination as a formality — something to rush through so they can get to the "real" growing. That's a mistake.
The taproot that emerges during germination becomes the anchor and primary nutrient highway for your entire plant. A taproot that forms under ideal conditions — steady warmth, consistent moisture, complete darkness, is thicker, more vigorous, and better positioned to support explosive vegetative growth once transplanted. A stressed taproot, by contrast, produces a seedling that spends its first two weeks simply recovering rather than growing. In a short Canadian outdoor season, that lost time matters enormously. Indoors, it throws off your entire cultivation schedule.
Understanding germination also helps you interpret what your seeds are telling you. Germination rate, taproot colour, and emergence speed are all diagnostic signals worth paying attention to before you ever move a seedling into its final medium.
The Paper Towel Method: Step-by-Step
While some cultivators prefer to germinate directly in soil or in a hydroponic solution, the vast majority of experienced growers rely on the paper towel method — and for good reason. It's observable, controllable, and gives you precise visual confirmation before any seed touches your growing medium. Here's how to execute it properly.
- Water preparation. Fill a clean glass with pure, room-temperature water — ideally distilled, spring, or collected rainwater. Municipal tap water often contains chlorine and fluoride that can inhibit germination and stress seedlings. Aim for a water temperature around 20–22°C and a pH as close to 6.0 as possible. Add up to five seeds to the glass and place it in a warm, dark location for up to 18 hours. You'll often see seeds that sink to the bottom during this soak — a good early sign of viability, though floating seeds can still sprout successfully.
- Paper towel setup. Lay two sheets of paper towel flat on a dinner plate. Pour your seeds and soaking water directly onto one half of the towel, then use clean tweezers to space the seeds roughly 2–3 centimetres apart. Avoid handling seeds with bare fingers — the oils on your skin can introduce contaminants and the physical pressure can damage the embryo inside. Fold the other half of the wet paper towel over the seeds to cover them fully, but without pressing down. Pour off any pooled water — the towel should be saturated, not soggy.
- Incubation and monitoring. Place the plate in a warm, dark location — the top of a refrigerator, inside a cupboard near a heat source, or in a dedicated propagation mat-heated tray. Check the towel every 12 hours and mist it lightly with a spray bottle if it begins to dry. Taproots will begin emerging anywhere from 24 hours to five days for most commercially bred strains, though some can take up to two weeks. When the taproot measures between 6 mm and 19 mm (roughly ¼" to ¾"), the seed is ready to transplant. Use tweezers to gently transfer each sprouted seed, taproot pointing downward, into your chosen growing medium.
That's the complete process. Three steps, a glass of water, a paper towel, and a plate.
The Three Non-Negotiables: Moisture, Darkness, and Warmth
If germination has a mantra, it's this: moisture, darkness, warmth. Each of these factors directly controls the enzymatic activity inside the seed that triggers root emergence. Remove any one of the three and germination stalls or fails entirely.
Moisture is the catalyst. Water softens the outer seed shell and activates the gibberellic acid that signals the embryo to begin cellular division. But there's a crucial balance: too much moisture drowns the seed, invites mould, and depletes the oxygen around the embryo. The paper towel should feel like a well-wrung cloth — consistently damp, never dripping. If you exceed the 18-hour initial soak in water, seeds become waterlogged and hypoxic. Keep to the schedule.
Darkness matters because light at the germination stage triggers photomorphogenic responses that compete with root development. In nature, seeds that germinate below the soil surface have no access to light — the first light stimulus they receive is the signal to pivot from root extension to shoot emergence. Replicate that underground environment.
Warmth accelerates enzyme activity. The sweet spot for most cannabis genetics is 22–26°C. Below 18°C, germination slows dramatically; above 30°C, you risk damaging the embryo and encouraging fungal growth. If your home runs cool — common in Canadian winters, particularly in older homes, a seedling heat mat with a thermostat is a worthwhile $30–$50 CAD investment that pays for itself in saved seeds within your first grow.
- Target water temperature: 20–22°C
- Target ambient incubation temperature: 22–26°C
- Initial soak duration: 12–18 hours maximum
- Ideal paper towel moisture: damp, not dripping
- Light exposure during germination: zero
- Taproot transplant window: 6–19 mm in length
Reading Your Seeds: Appearance, Viability, and Scarification
Don't judge a seed by its shell.
New growers frequently worry when they encounter seeds with irregular shapes, unusual markings, or mottled colouring. In most cases, these cosmetic quirks have no bearing on viability. Cannabis seeds produced by quality breeders carry enormous genetic resilience, and a seed that looks unpromising can send out a vigorous, fat taproot that anchors a high-yielding plant. Give every seed the benefit of the doubt and let germination tell you the real story.
That said, there are genuine signs of non-viable seeds worth knowing. A seed that crumbles or breaks under very light finger pressure is almost too old or improperly stored. Seeds that are pale green or white are often immature and unlikely to germinate. The ideal seed is a mature brown — sometimes striped, sometimes solid, with a hard, intact shell that resists gentle pressure.
One technique worth considering for seeds with particularly thick or tough outer shells is scarification: lightly scuffing the seed's surface between two pieces of fine sandpaper or along the strike strip of a matchbox. The goal is to create micro-abrasions that allow water to penetrate the shell more rapidly — not to damage the seed itself. It's a technique that experienced cultivators use selectively, not universally, and it's covered in depth in our germination guide. If your seeds are fresh and from a reputable source, scarification is rarely necessary. If you're working with seeds that have been in storage for a year or more, it can meaningfully improve germination rates.
The comparison here is simple: fresh seeds from a trusted breeder versus aged seeds from unknown storage. Fresh seeds typically germinate in 24–72 hours with no special intervention. Older seeds may take five to ten days and benefit from a 24-hour hydrogen peroxide soak (3% solution, diluted 1:1 with distilled water) before moving to the paper towel stage — a method that softens the shell and reduces the bacterial load on the seed surface.
Transitioning from Taproot to Growing Medium
The moment your taproot hits the target length, the clock starts ticking. A taproot left in the paper towel too long will begin to intertwine with the fibres, making damage-free removal increasingly difficult. Aim to transplant within a few hours of the root reaching 6–19 mm.
Regardless of whether you're transplanting into premium organic soil, coco coir, rockwool cubes, or a net pot destined for a hydroponic system, the mechanics are the same:
- Pre-moisten your growing medium before transplanting — dry medium will wick moisture away from the fragile seedling root.
- Create a small hole approximately 5–10 mm deep using a pen, chopstick, or dibber.
- Using tweezers, gently lower the seed into the hole with the taproot pointing downward. The seed itself should sit just below the surface.
- Lightly cover with medium — do not compress or pack.
- Water with a small amount of pH-adjusted water (6.0–6.5 for soil; 5.5–6.0 for coco or hydro) and place under gentle lighting — 18 hours of light at low intensity (200–400 lux) to start.
- Seedlings typically break the surface within 24–72 hours of transplant.
Keep humidity elevated during this stage — 65–70% relative humidity supports cotyledon development and reduces transplant stress. If you're growing in a tent, a simple dome or clear plastic cup inverted over the seedling achieves this without a humidifier.
Choosing the Right Seeds to Germinate
Germination technique is only one half of the equation. The other half is starting with genetics worth germinating in the first place.
Whether you're drawn to a fast-finishing autoflowering variety that suits Canada's shorter outdoor season, a high-THC feminized photoperiod strain built for indoor cultivation, or a CBD-forward cultivar with therapeutic intent — seed quality at the source determines the ceiling of your entire grow. Poor genetics, improperly stored seeds, or mislabelled varieties waste not just money but months of your time and attention.
For Canadian growers operating within the personal cultivation provisions of the Cannabis Act — up to four plants per household, every plant counts. You want seeds that are correctly sexed, true to their stated genetics, and stored under conditions that preserve viability. Browse the full catalogue at Pacific Seed Bank to find feminized and autoflowering varieties suited to Canadian climates and cultivation styles, from compact indoor autos to heavy-yielding photoperiod giants.
For more cultivation guides covering every stage from seedling to harvest, the Growing Marijuana section of the Pacific Seed Bank blog is one of the most comprehensive free resources available to Canadian home growers.
Germination is, in the end, an act of patience and precision. Nail the moisture, protect the darkness, maintain the warmth, and the seed does everything else on its own. Master these fundamentals and every subsequent stage of your grow — vegetation, flowering, harvest, cure, builds on a foundation that's already solid. That's where great cannabis begins.